Flexi Plate with Textured ULTEM PEI - Creality CR-10S Pro - 320 x 310
Couldn't load pickup availability
Product Details
Fits: Creality CR-10S Pro and Anycubic Kobra Plus
(Please see full printer list below on the 'Fits & Contents' tab)
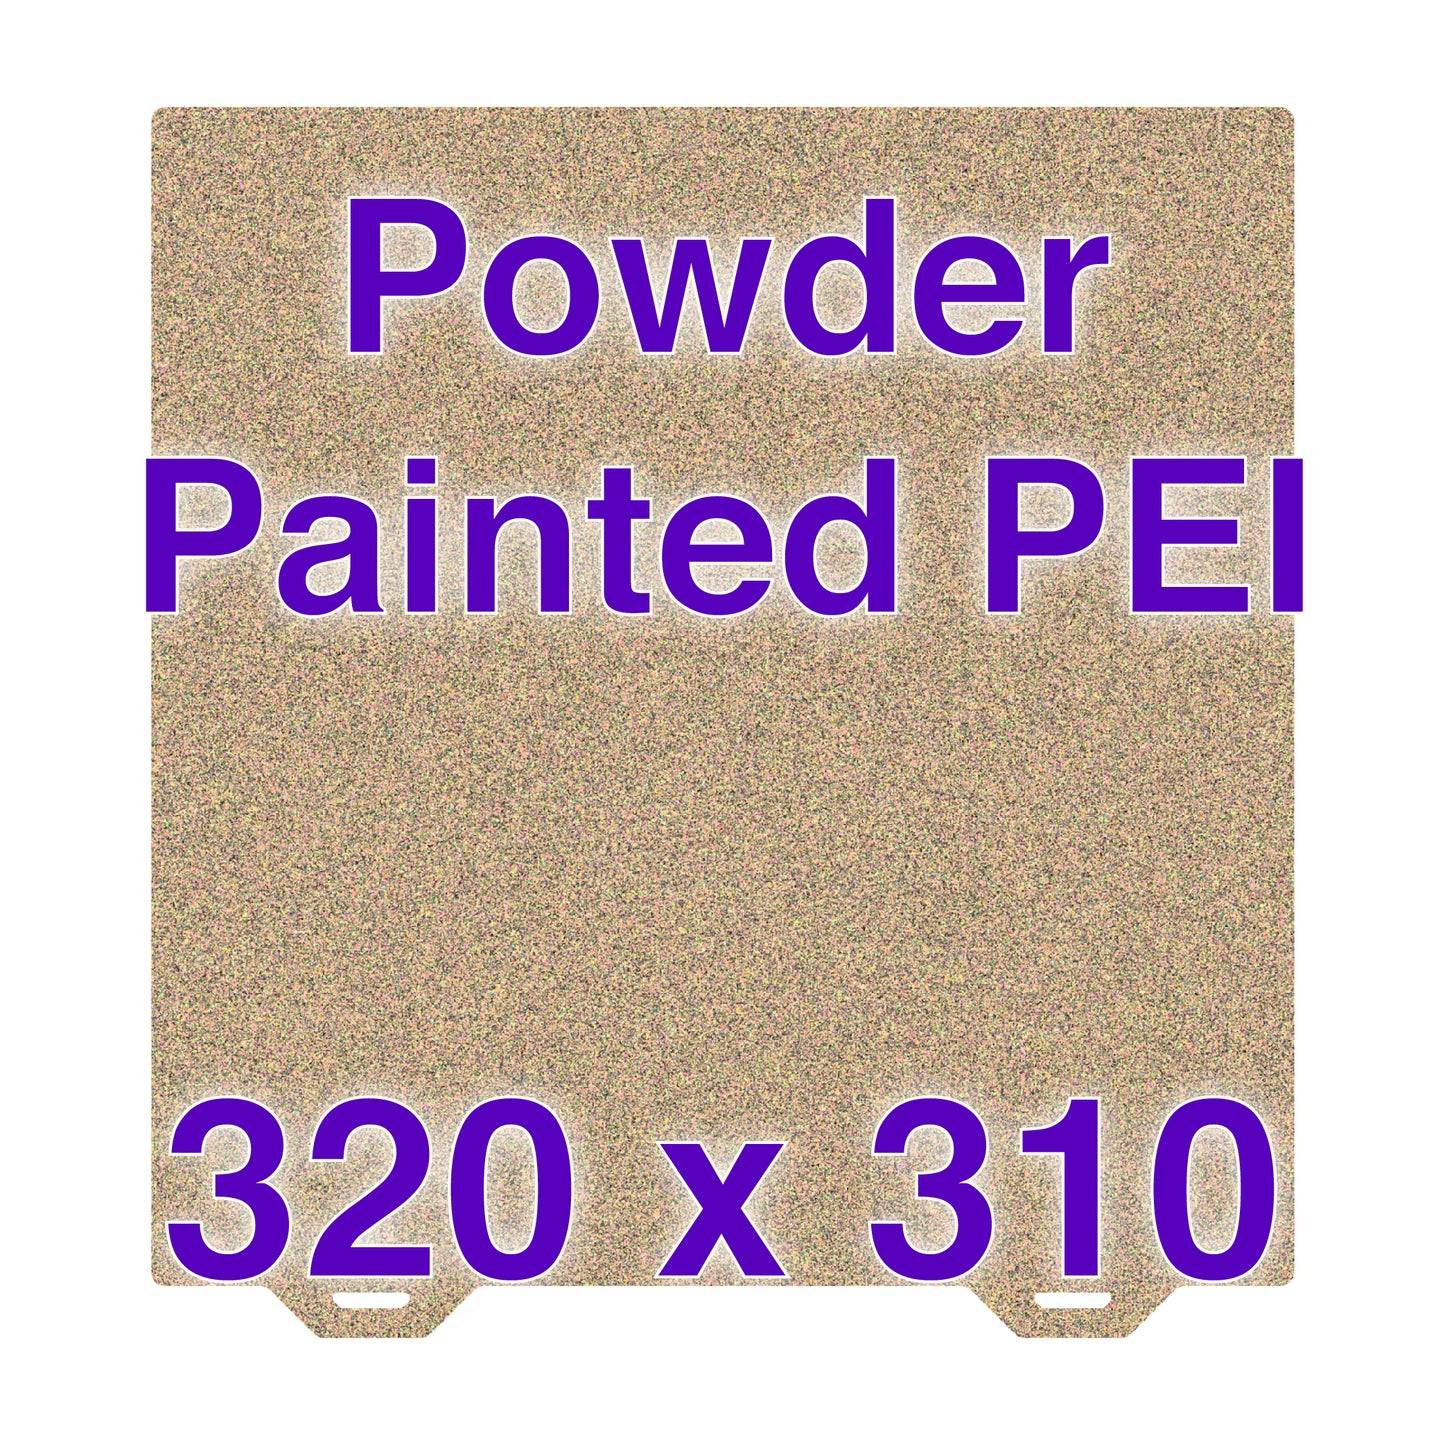
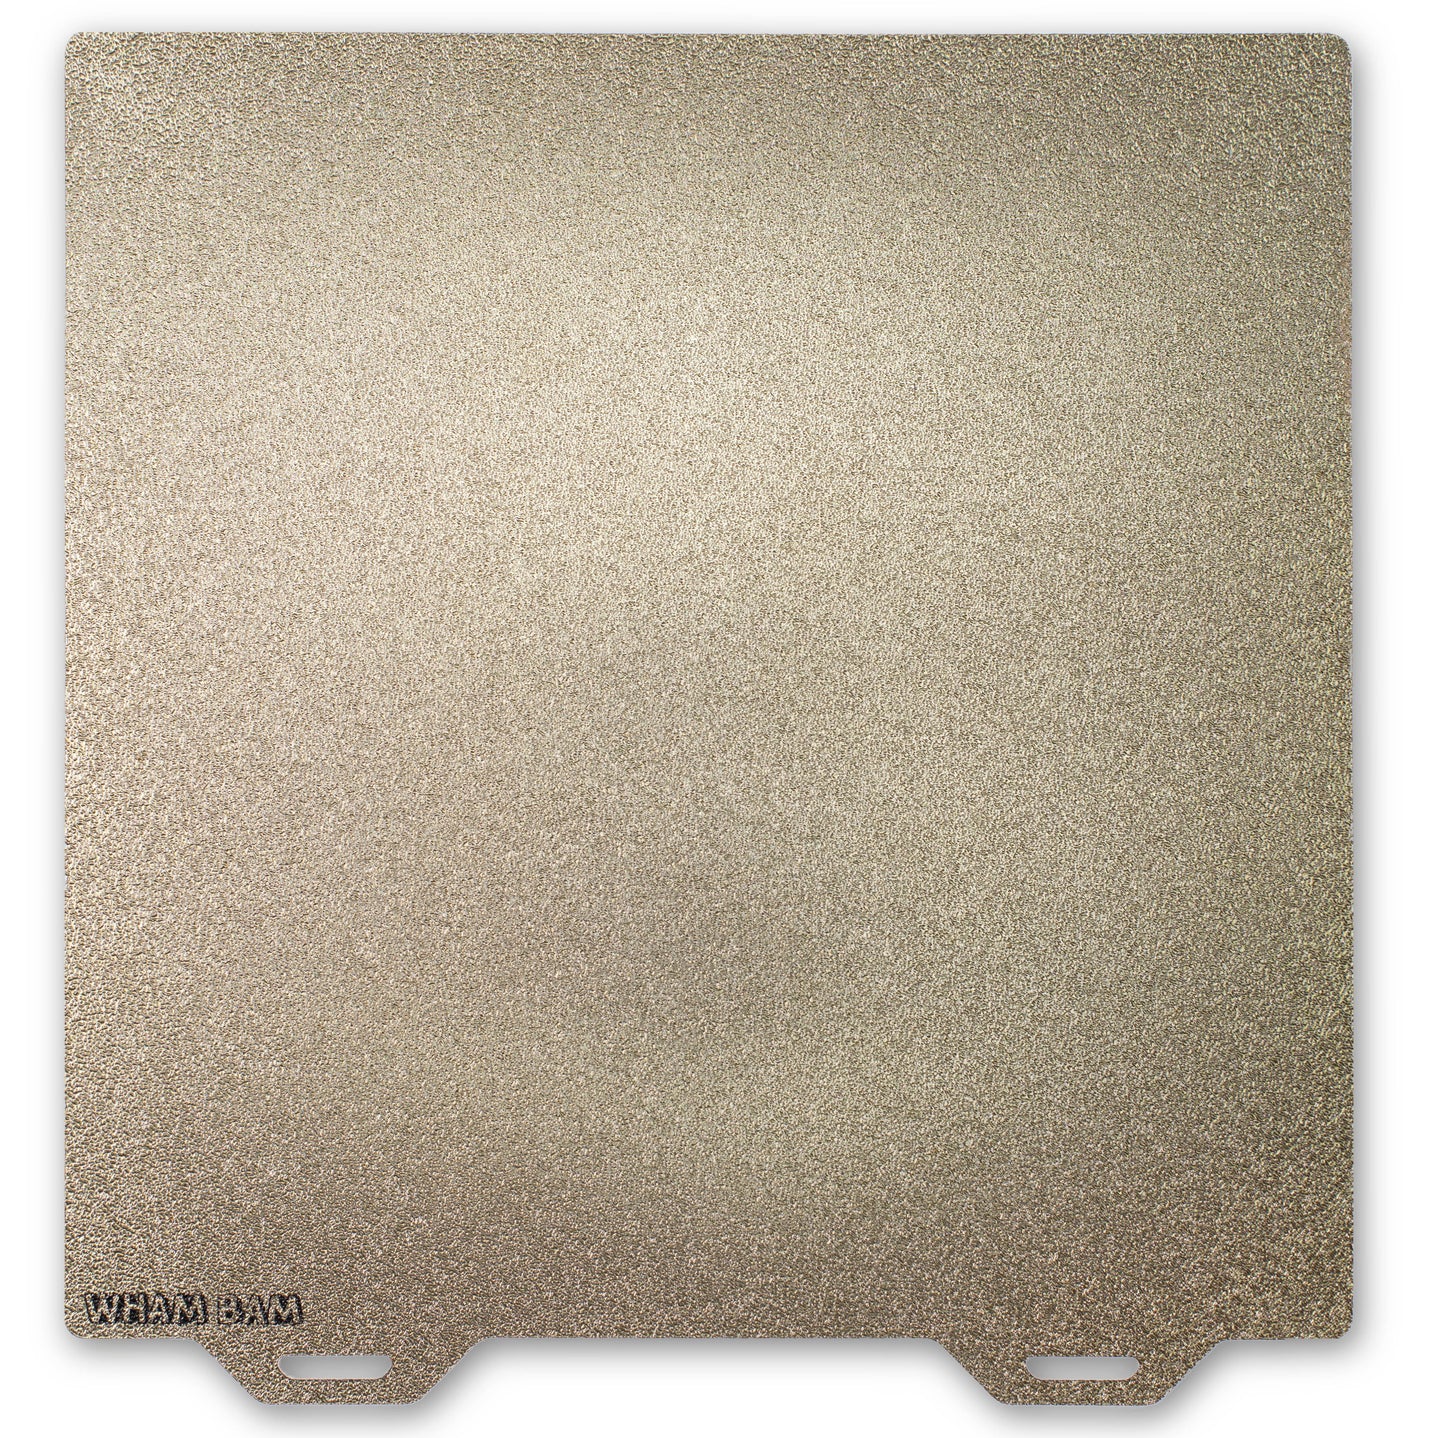
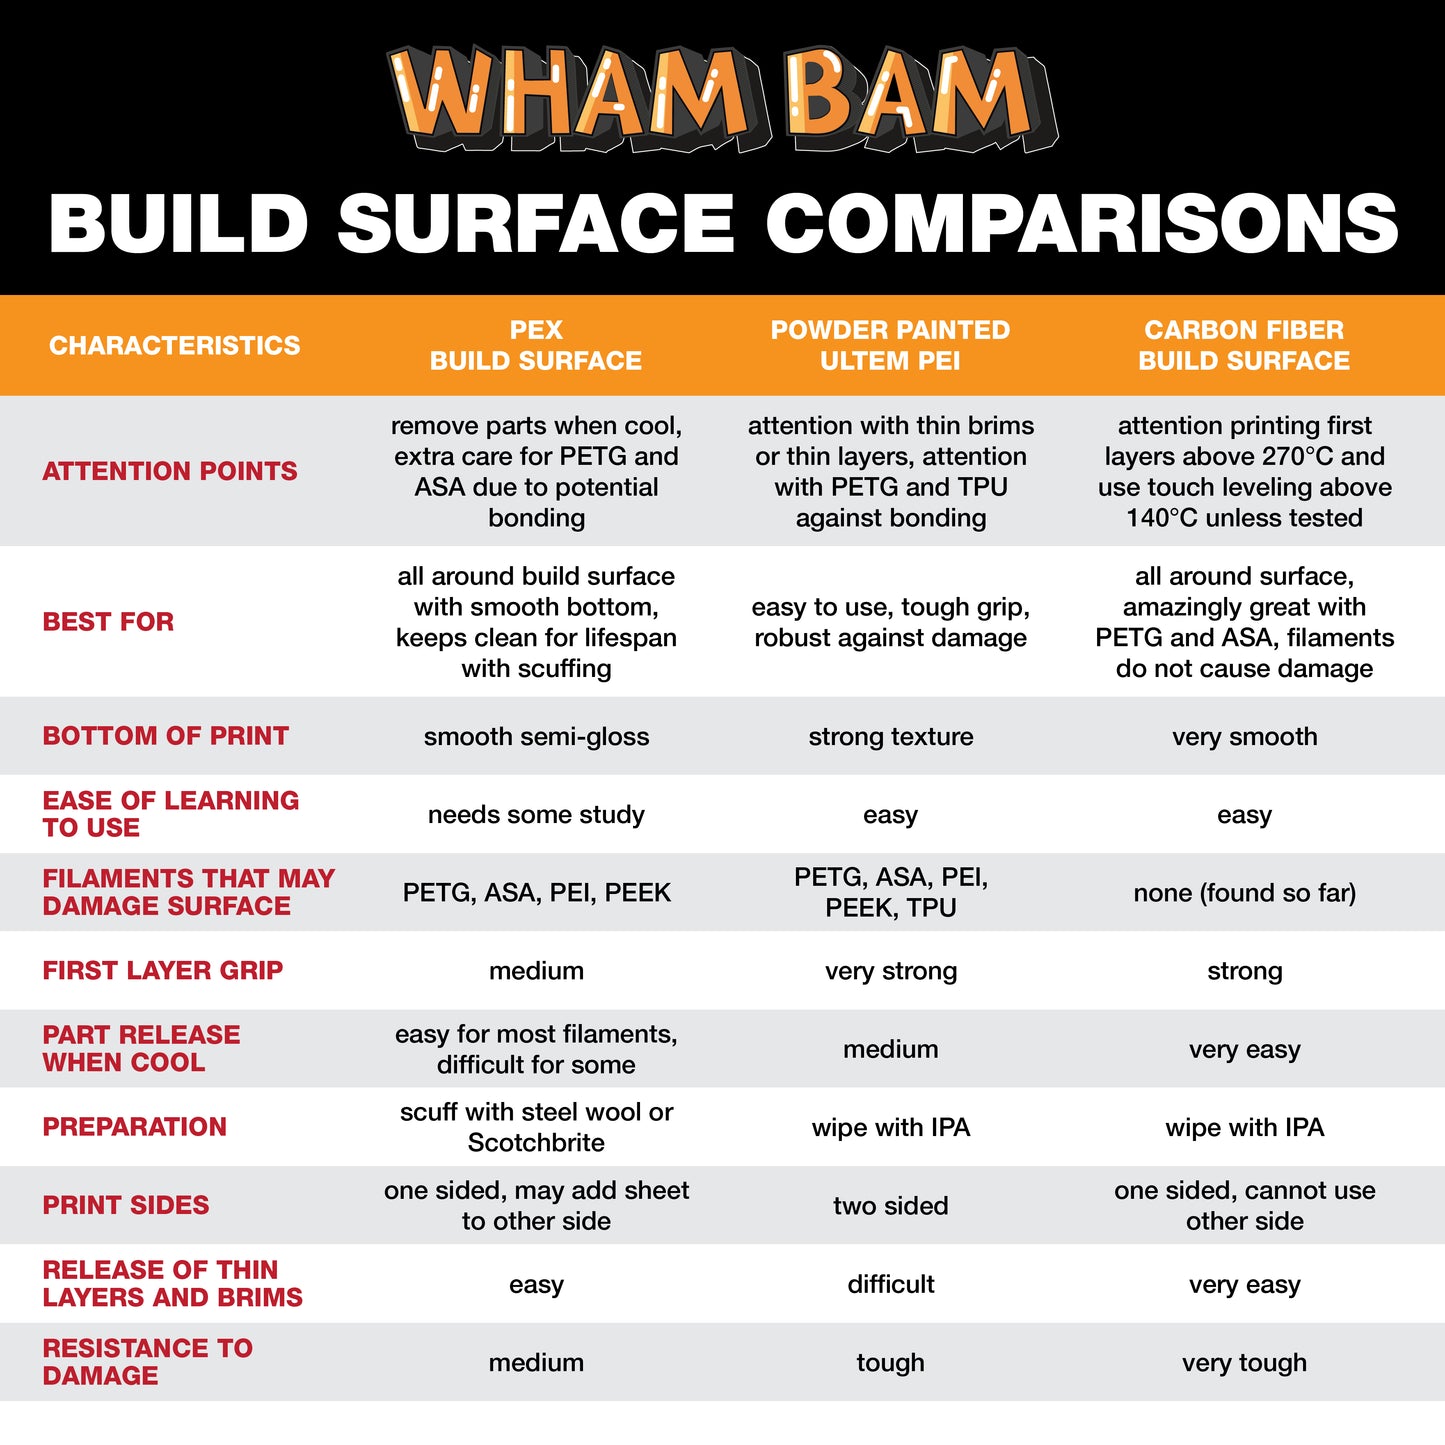
Our Textured PEI Flexi Plates start with our premium 0.4mm high chromium spring steel, electrostatically powder painted with authentic ULTEM™ brand PEI from Sabic, and kiln-baked for exceptional durability. The Flexi Plate has a double-sided texture leaving a pronounced finish on the bottom of your print.
Compatible with the Wham Bam Magnetic Base (not included), this Flexi Plate is ideal for a variety of filaments, including PLA, TPU, PETG, and ABS. For additional adhesion with challenging materials like Nylon, use purple glue sticks or Magigoo, which wash off easily.
Printer Fits:
• Anycubic Kobra Plus
• Comgrow T300
• Creality CR-10S Pro
• Creality CR-10S Pro V2
• Creality CR-10S Pro V3
• Creality CR-X
• Creality Ender 3 Max
• Ender 3 Max Neo
• Formbot Troodon 300
• goofoo Nova
• Sovol SV06 Plus*
• Sovol SV07 Plus*
May fit:
• Anycubic Mega X
• Creality CR10 Smart
• Kywoo Tycoon Max
• Sovol SV04
*for the SV06 Plus and SV07 Plus, you will either have to remove the two alignment screws at the rear of the build plate or mount the Flexi Plate 5 mm over the front of the bed.
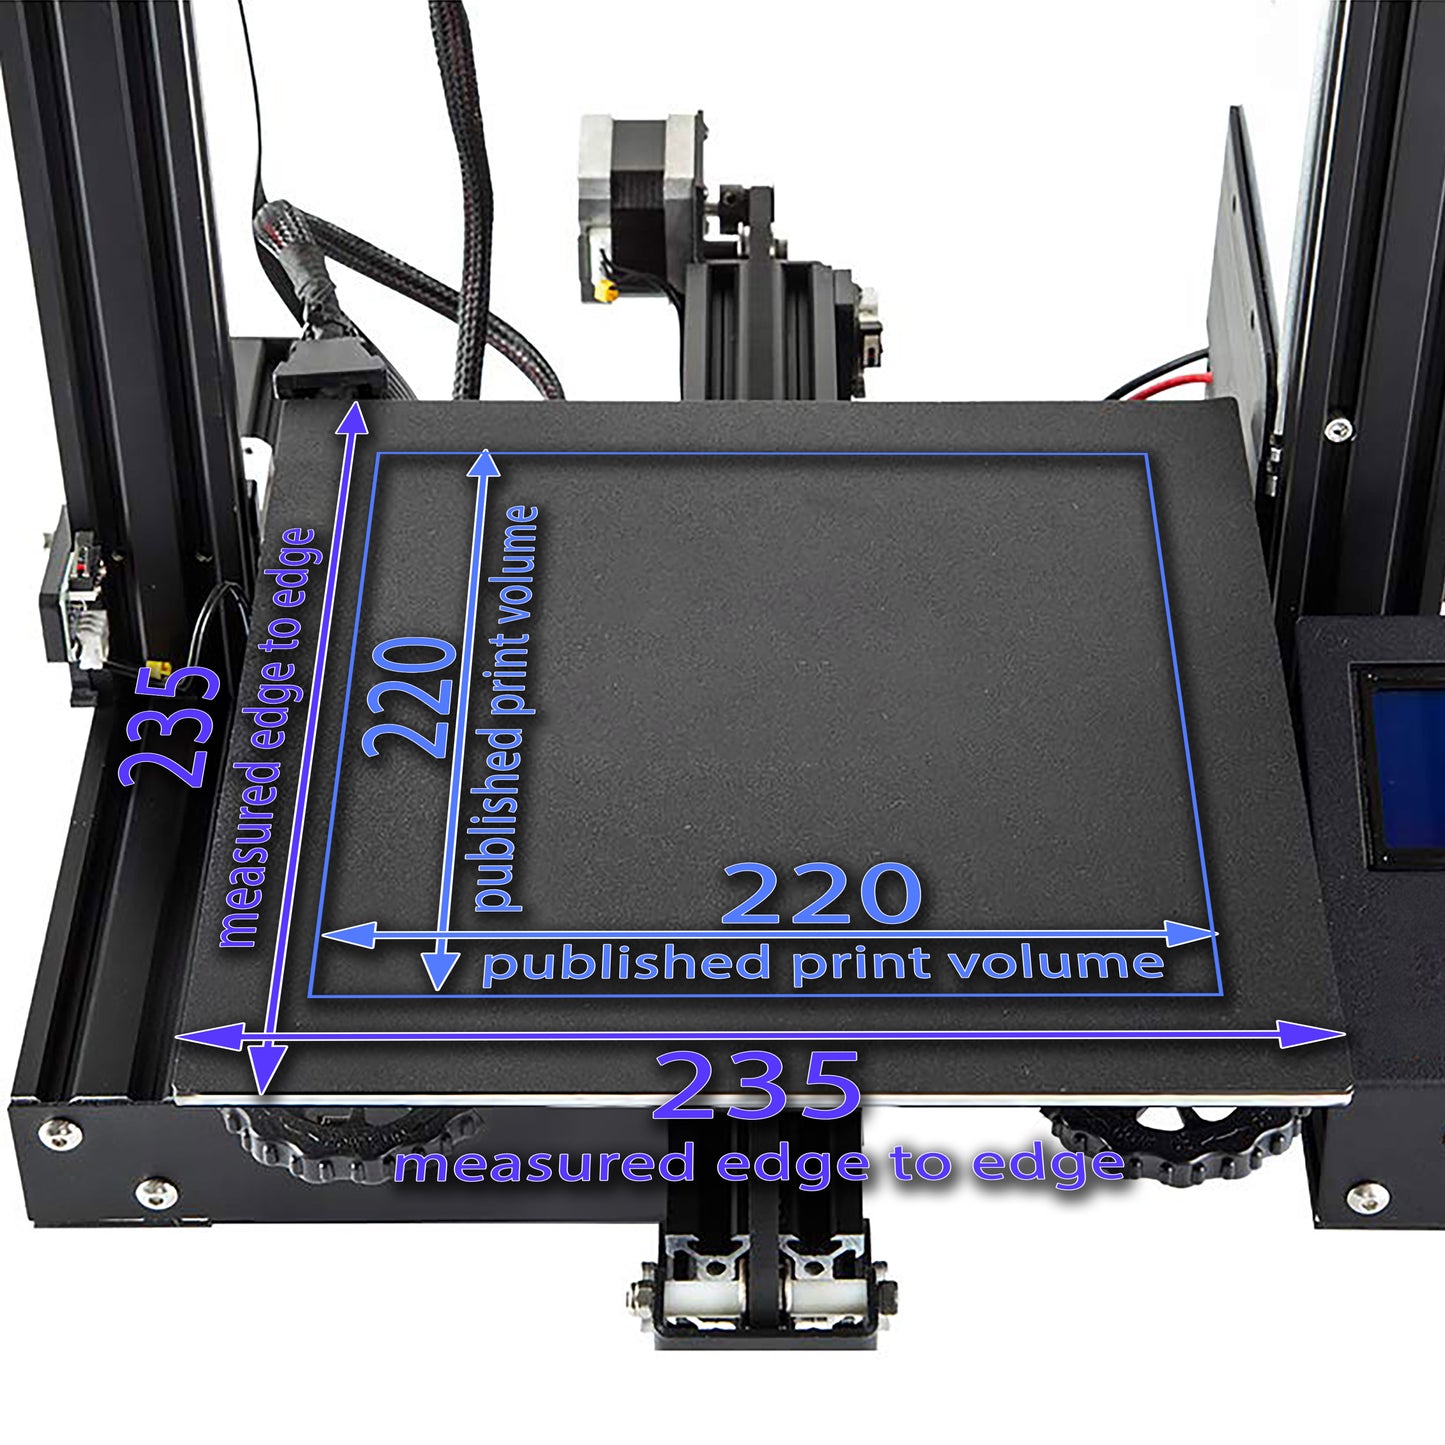
Do you have a printer similar to what's listed under Printer Fits or May Fit?If you have a printer similar to the one described above and believe our solution could work for your printer, please follow our easy instructions on measuring your build plate. Let us know if your printer matches our specifications or is even close! We’d love to hear about it, and you might even receive a discount on Wham Bam® merchandise for your efforts. Click here for more info.

- 1 Powder Painted Ultem™ PEI Flexi Plate
- 320 x 310 mm
- 320 mm in Y direction
- 310 mm in X direction, tab side
- Flexi Plate 0.4 mm
- ULTEM™ PEI Build Surface 0.12 mm, on each side
Note: You should already have a magnet or clips installed on your printer, as this is needed to use a Flexi Plate.
If your machine has automatic bed leveling, run the leveling process and set your gap such that the first layer is well squished. For more details on achieving the right first layer squish, refer to this bed leveling guide.
If your printer uses manual leveling, follow the same guide for instructions on the leveling process.
Cleaning Before & After prints
After every print, we suggest wiping with isopropyl alcohol and a fresh paper towel. If you have small bits, such as purge lines, stuck to the surface you can try with a steel spatula with corners rounded to carefully remove these. Do not use Acetone as this will damage the surface.
Longterm Contaminants cleaning:
Should the PEI ever lose its grip, you may also try common dish detergent or vinegar and clean with water as these help break fats added to filaments with effects. You can also lightly pass over the plate with 600 grit wet dry sandpaper to revitalize, then clean with IPA and a fresh paper towel.
Full support info can be found on our support page.


