Magnetic Base - Ø350
Couldn't load pickup availability
Product Details
Fits: Tevo Up Little Monster
(Please see full printer list below on the 'Fits & Contents' tab)
The Wham Bam Magnetic Base has been specially formulated to resist high temperatures for long periods of time, while giving the best performance on the market. They are 1mm thick and pre-backed with high-temperature 3M adhesive making installation a breeze! These powerful, temperature resistance magnets that ensure the build plate stays perfectly aligned during printing. Explore more info on the Flexible Build System.
Printer Fits:
• Tevo Up Little Monster
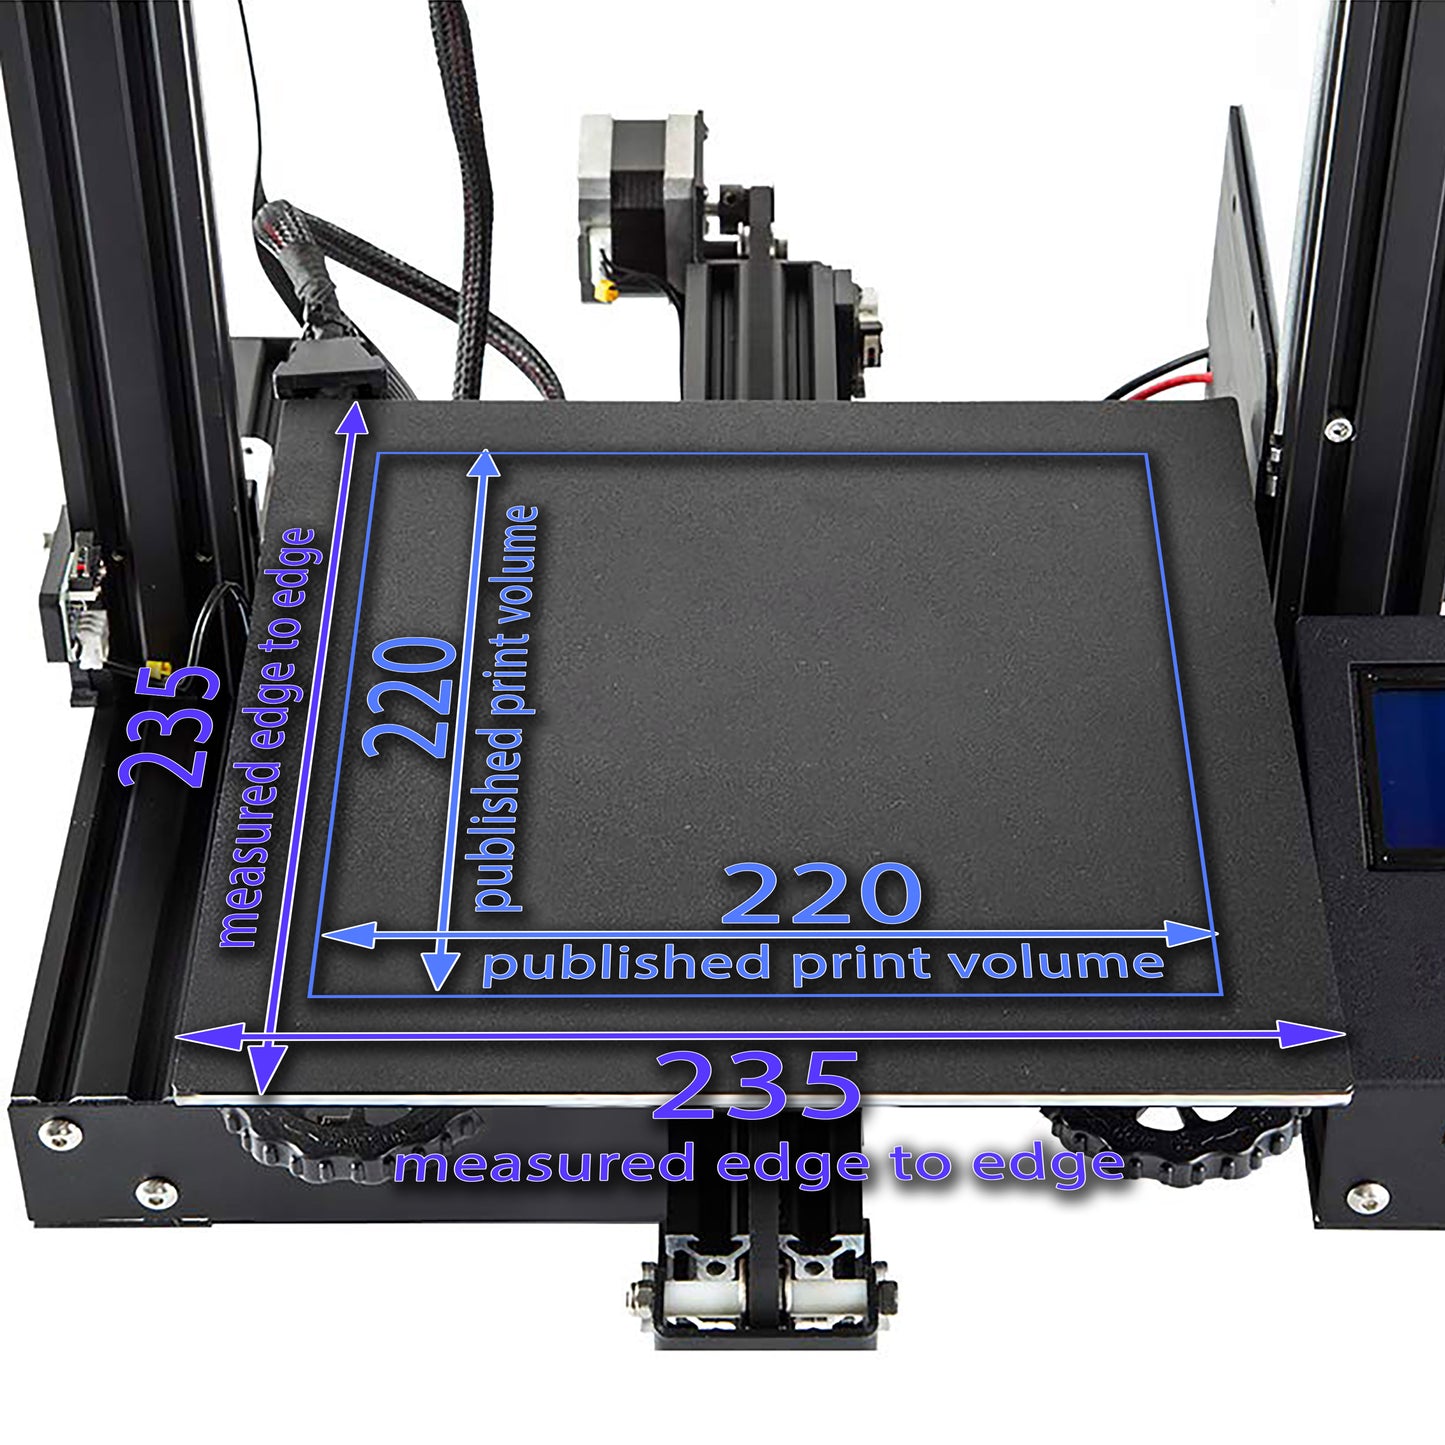
If you have a printer similar to the one described above and believe our solution could work for your printer, please follow our easy instructions on measuring your build plate. Let us know if your printer matches our specifications or is even close! We’d love to hear about it, and you might even receive a discount on Wham Bam® merchandise for your efforts. Click here for more info.

- 1 Magnetic Base
- Ø350 mm
- Magnetic Base 1mm
Magnetic Base with 3M Glue rated to 150°C continual use
Please follow these steps when applying a new Magnetic Base:
- Remove old magnet (if any), and clean the bed well to remove any glue. Use isopropyl alcohol and a fresh paper towel.
- Use 220 grit sandpaper to rough up the metal surface uniformly and remove any excess contaminants. If your surface is painted, try to break through the paint layer with the sandpaper at least partially.
- Clean with 90% isopropyl alcohol and a fresh paper towel. Repeat with alcohol and a fresh paper towel a few times until the paper towel comes away clean. Do not use shop rags, wipes, etc., as these will propagate contaminants back to the surface. Use only fresh paper towels.
- Let the bed completely dry before applying the magnet.
- Let 3M cure for a full 72 hours before use.
Magnetic Base install video clip:
If your machine has automatic bed leveling, run the leveling process and set your gap such that the first layer is well squished. For more details on achieving the right first layer squish, refer to this bed leveling guide.
If your printer uses manual leveling, follow the same guide for instructions on the leveling process.
Full support info can be found on our support page.


