


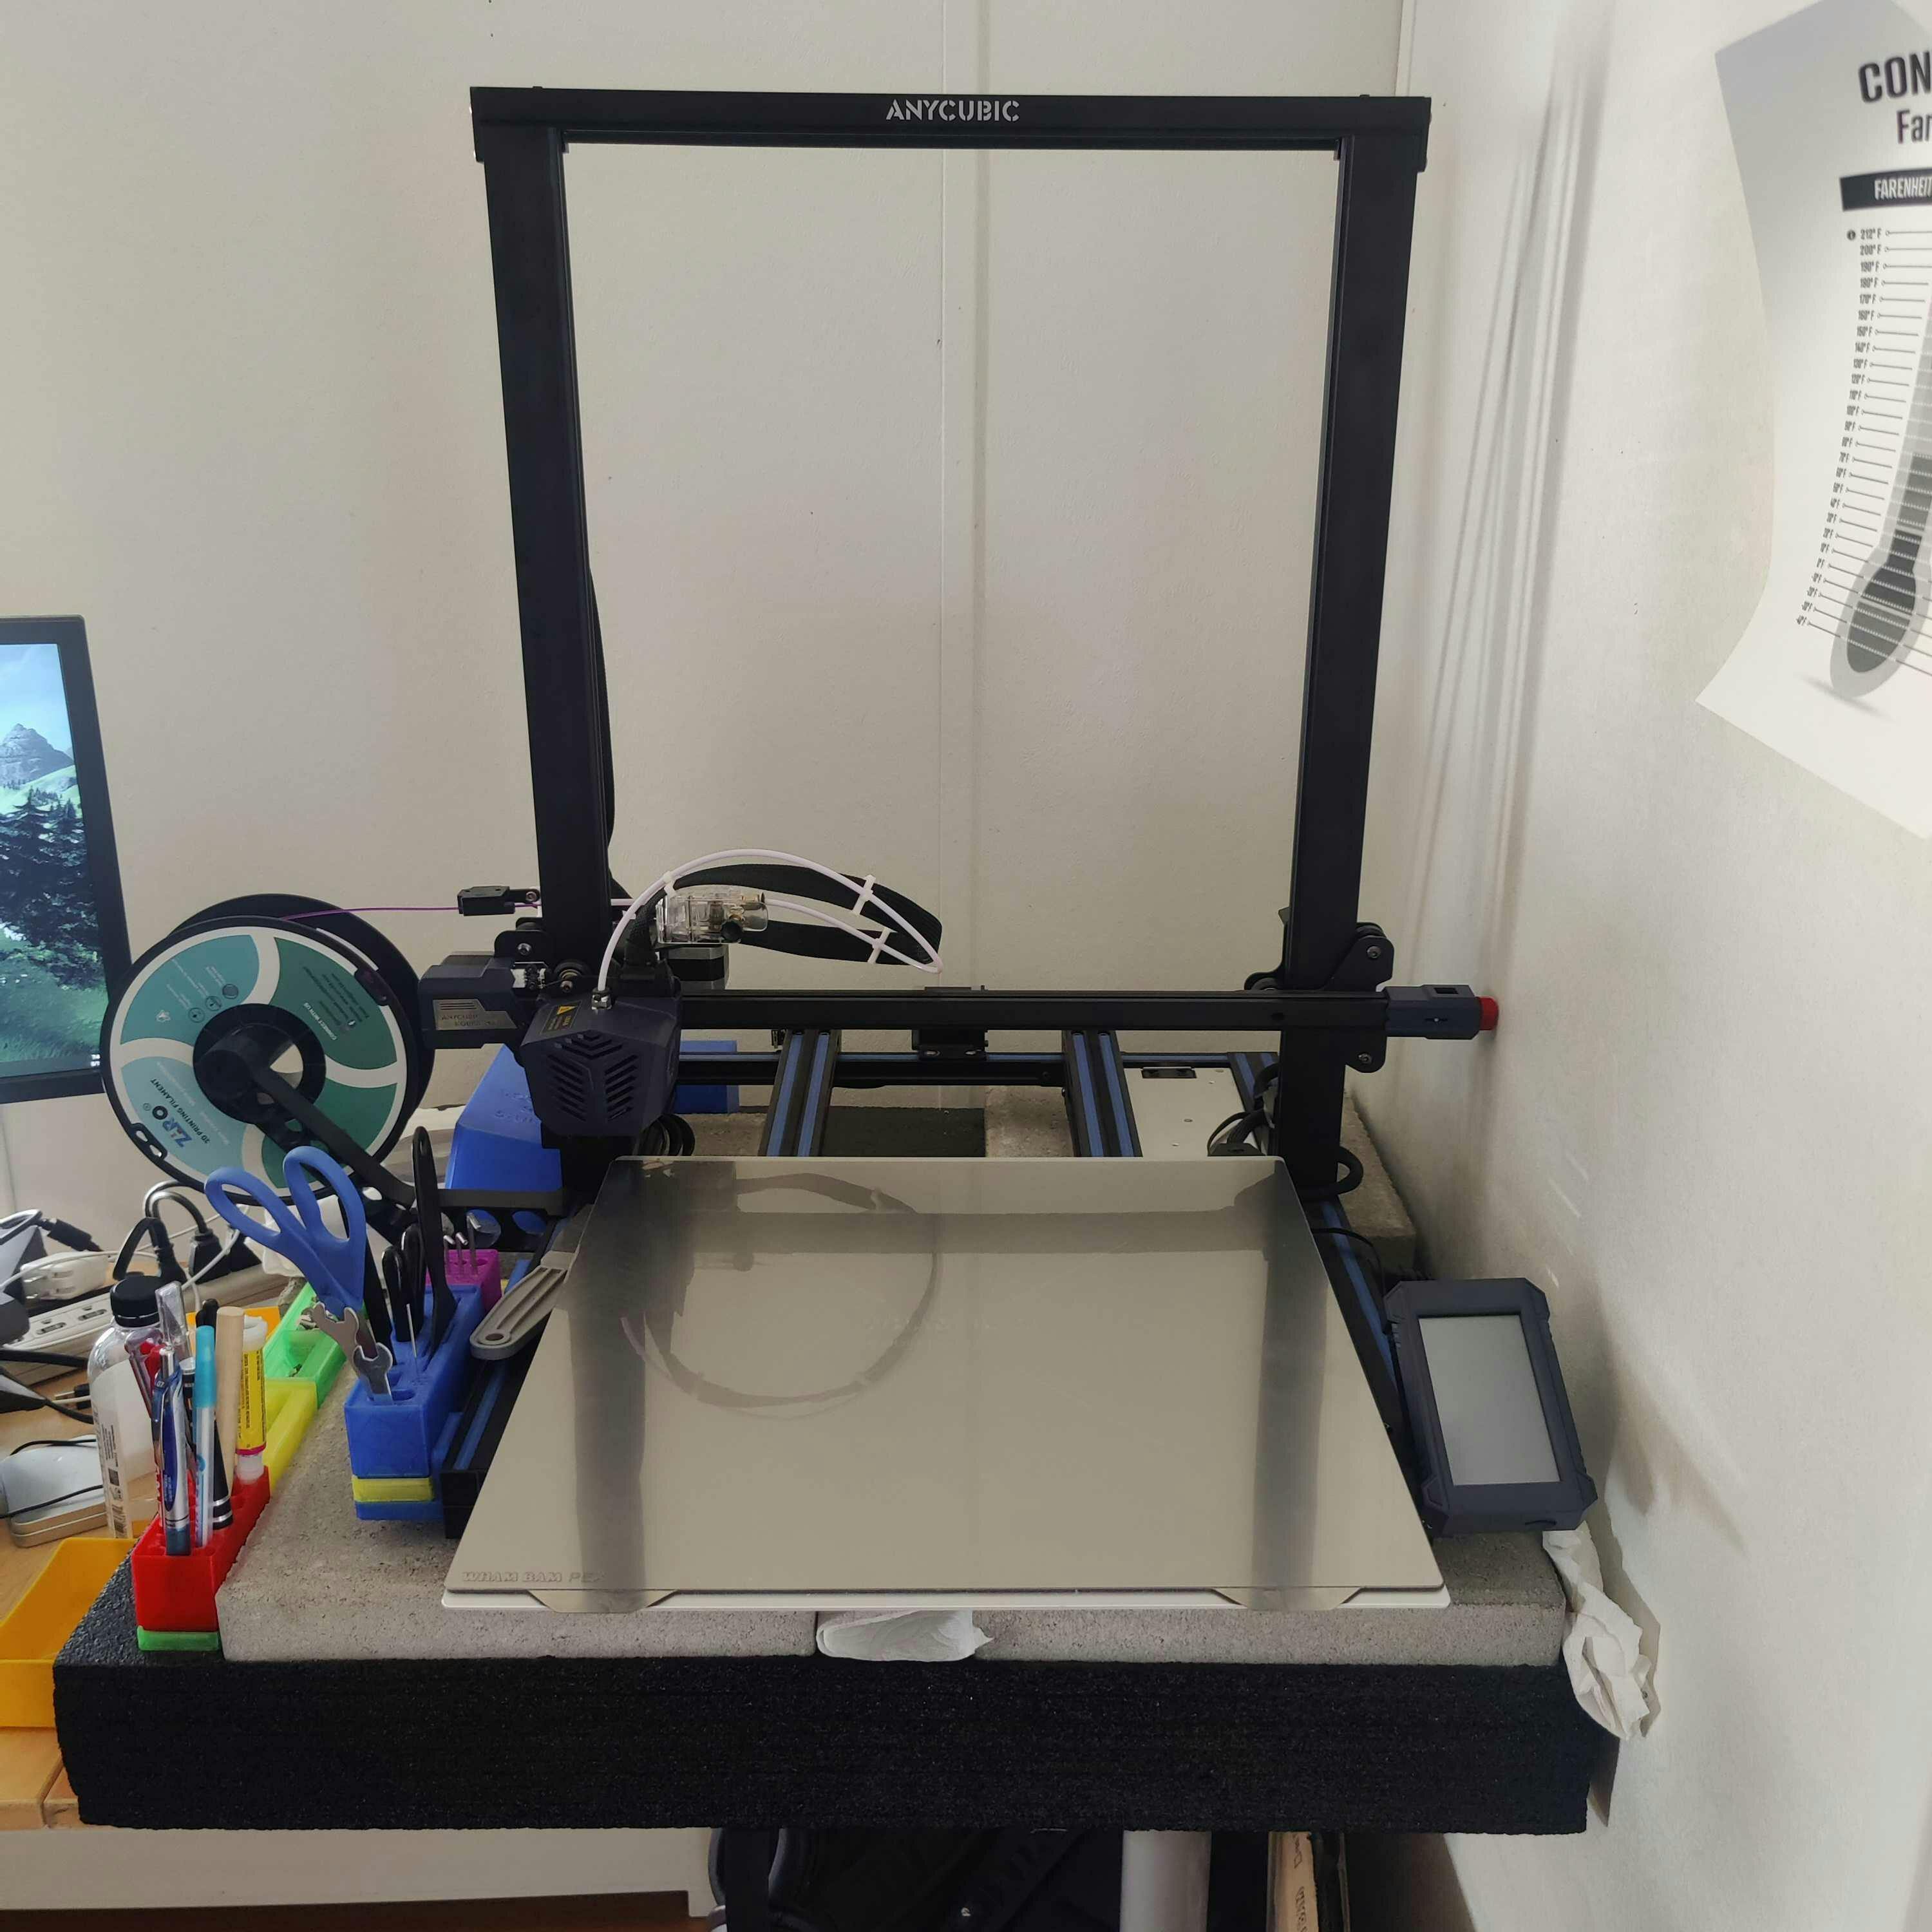
Kit with PEX - Creality CR-10S4 and VORON Core XY - 410 x 410
Couldn't load pickup availability
Product Details
Fits: Creality CR-10S4 and VORON Design Core XY
(Please see full printer list below on the 'Fits & Contents' tab)
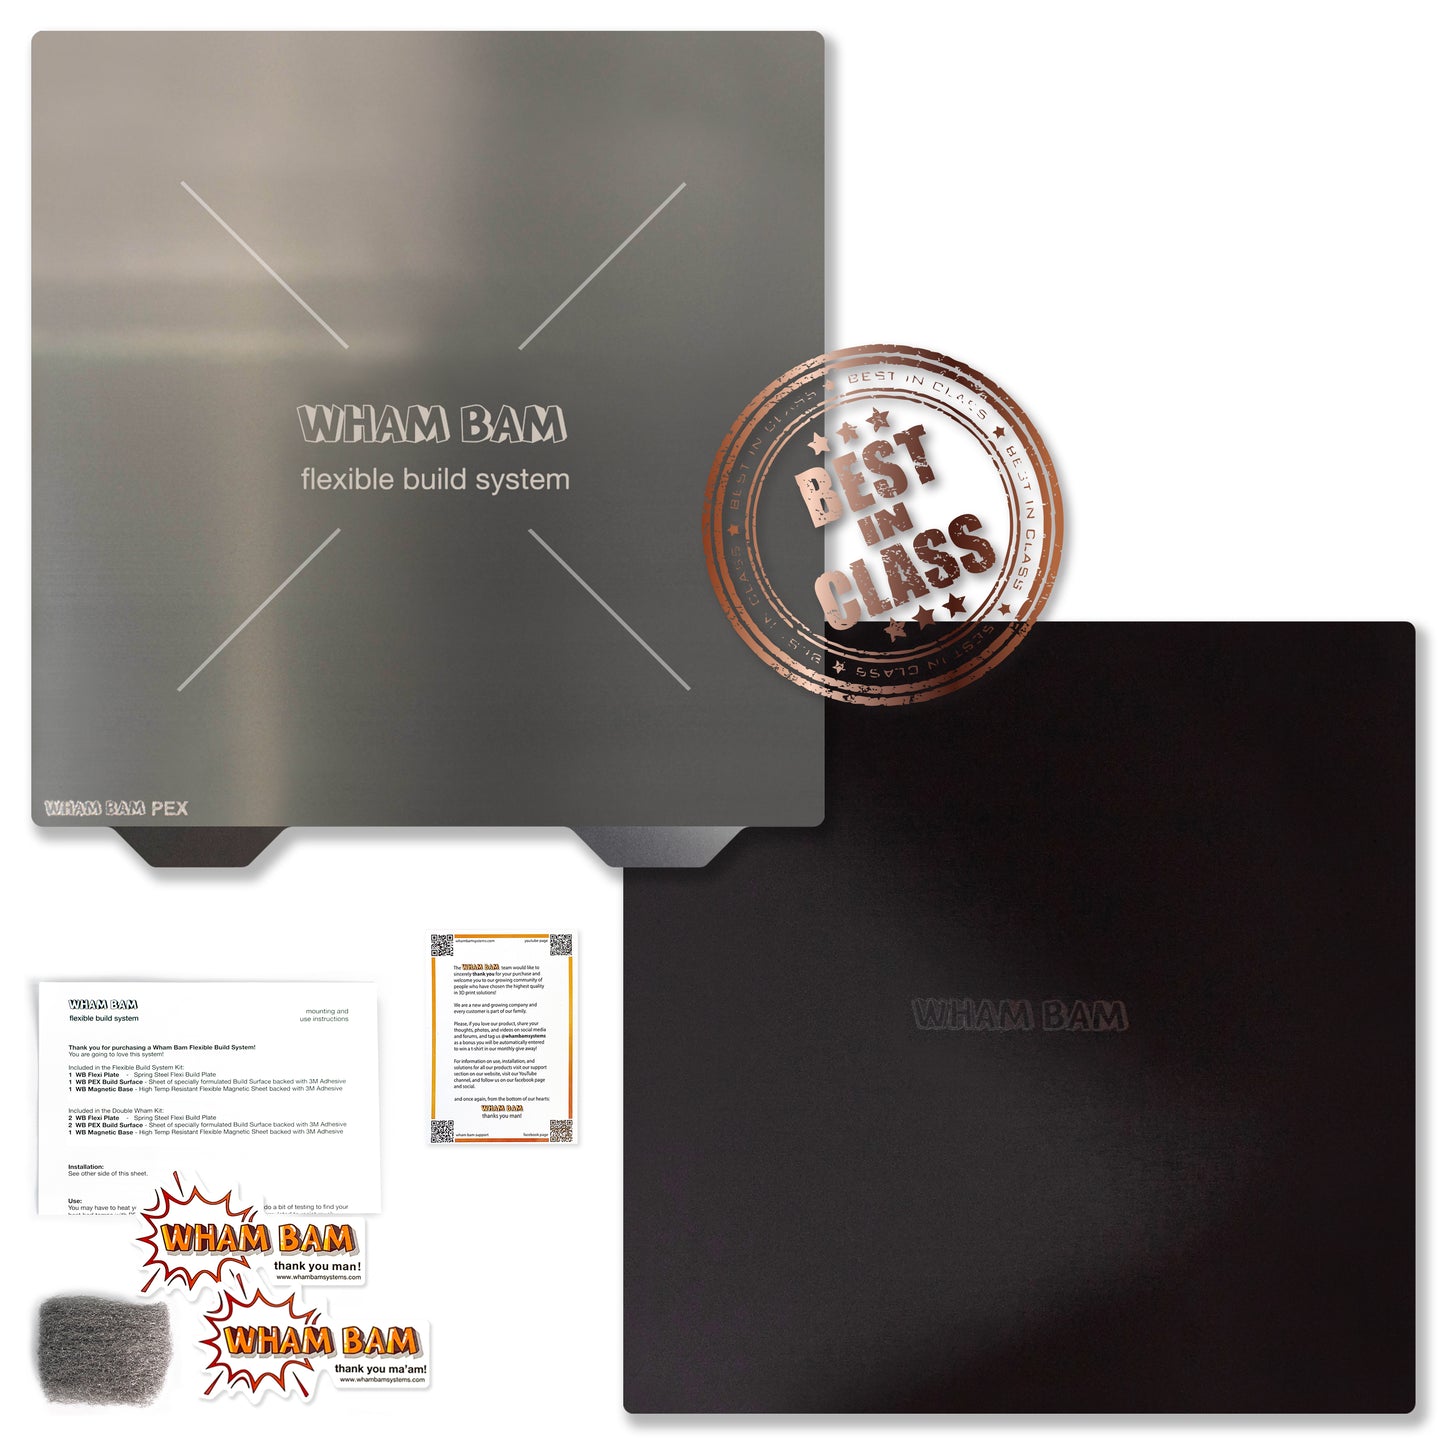
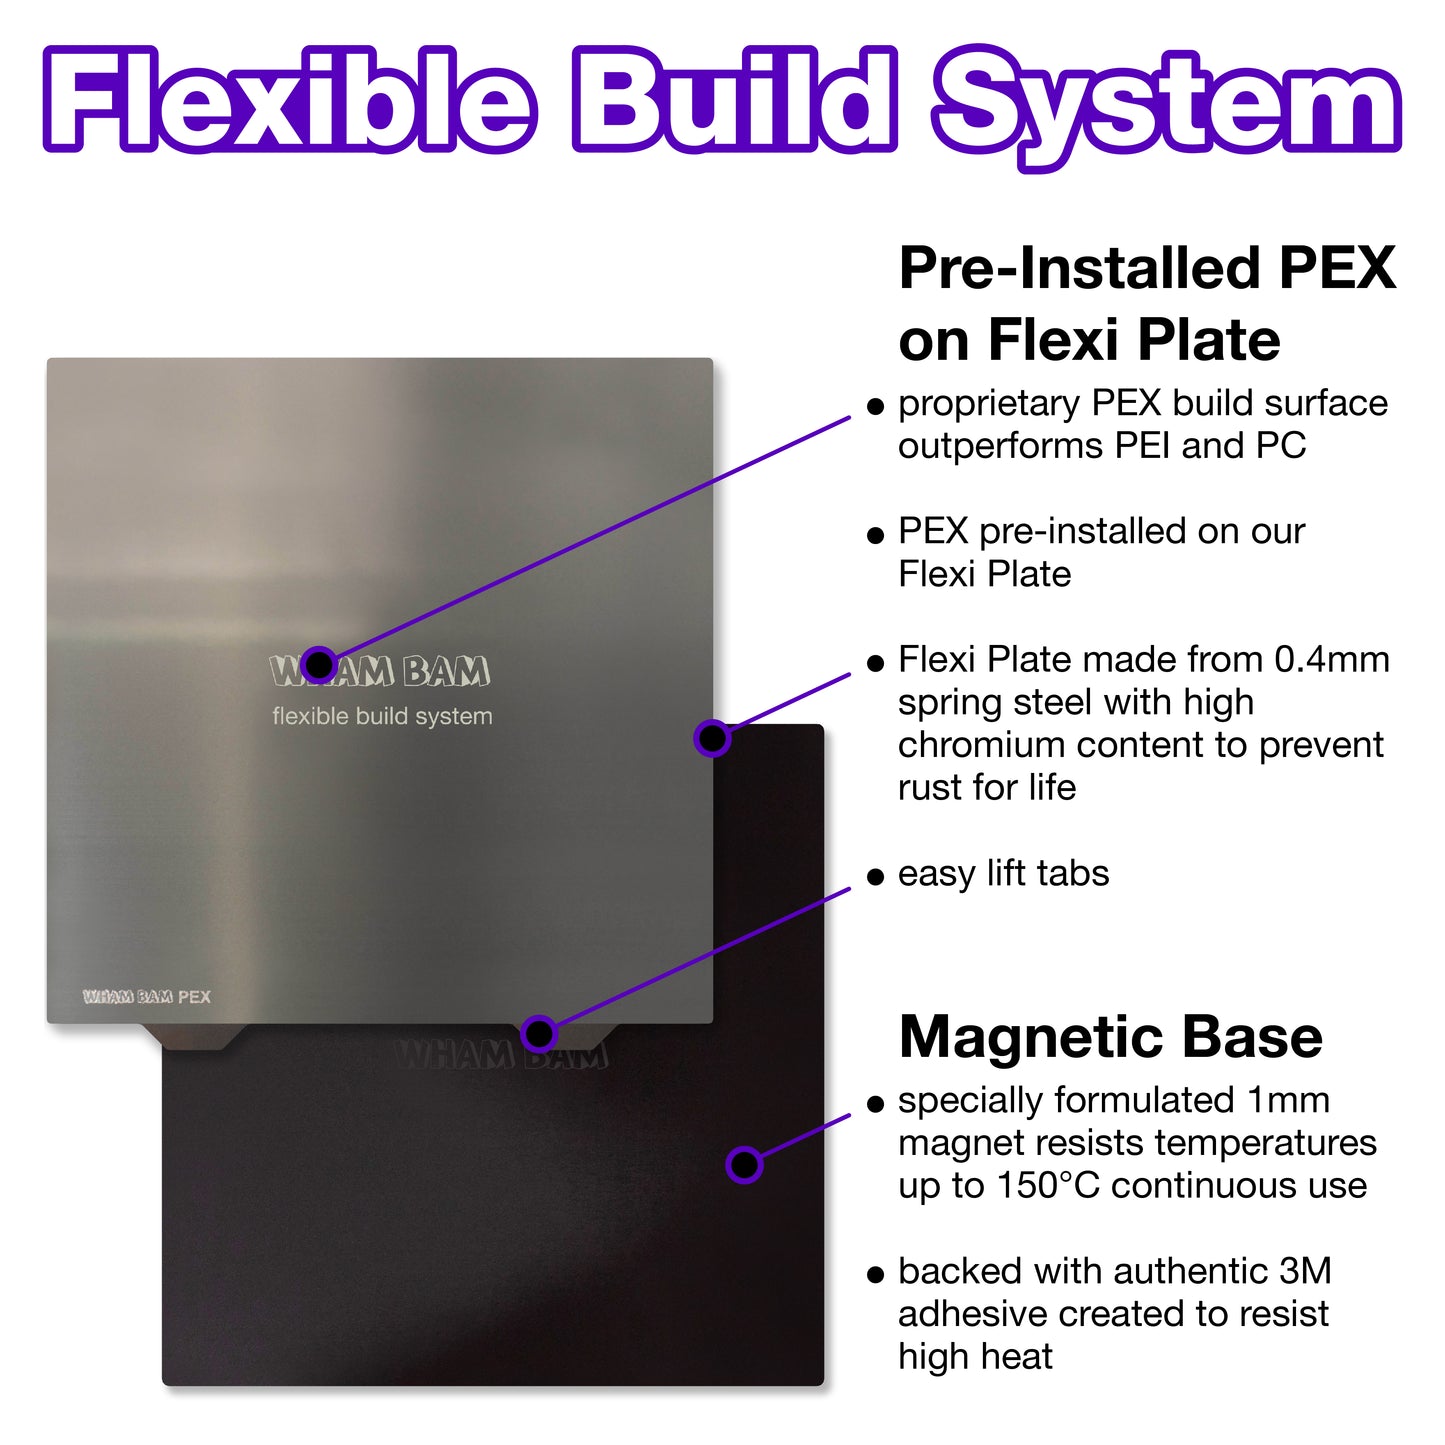
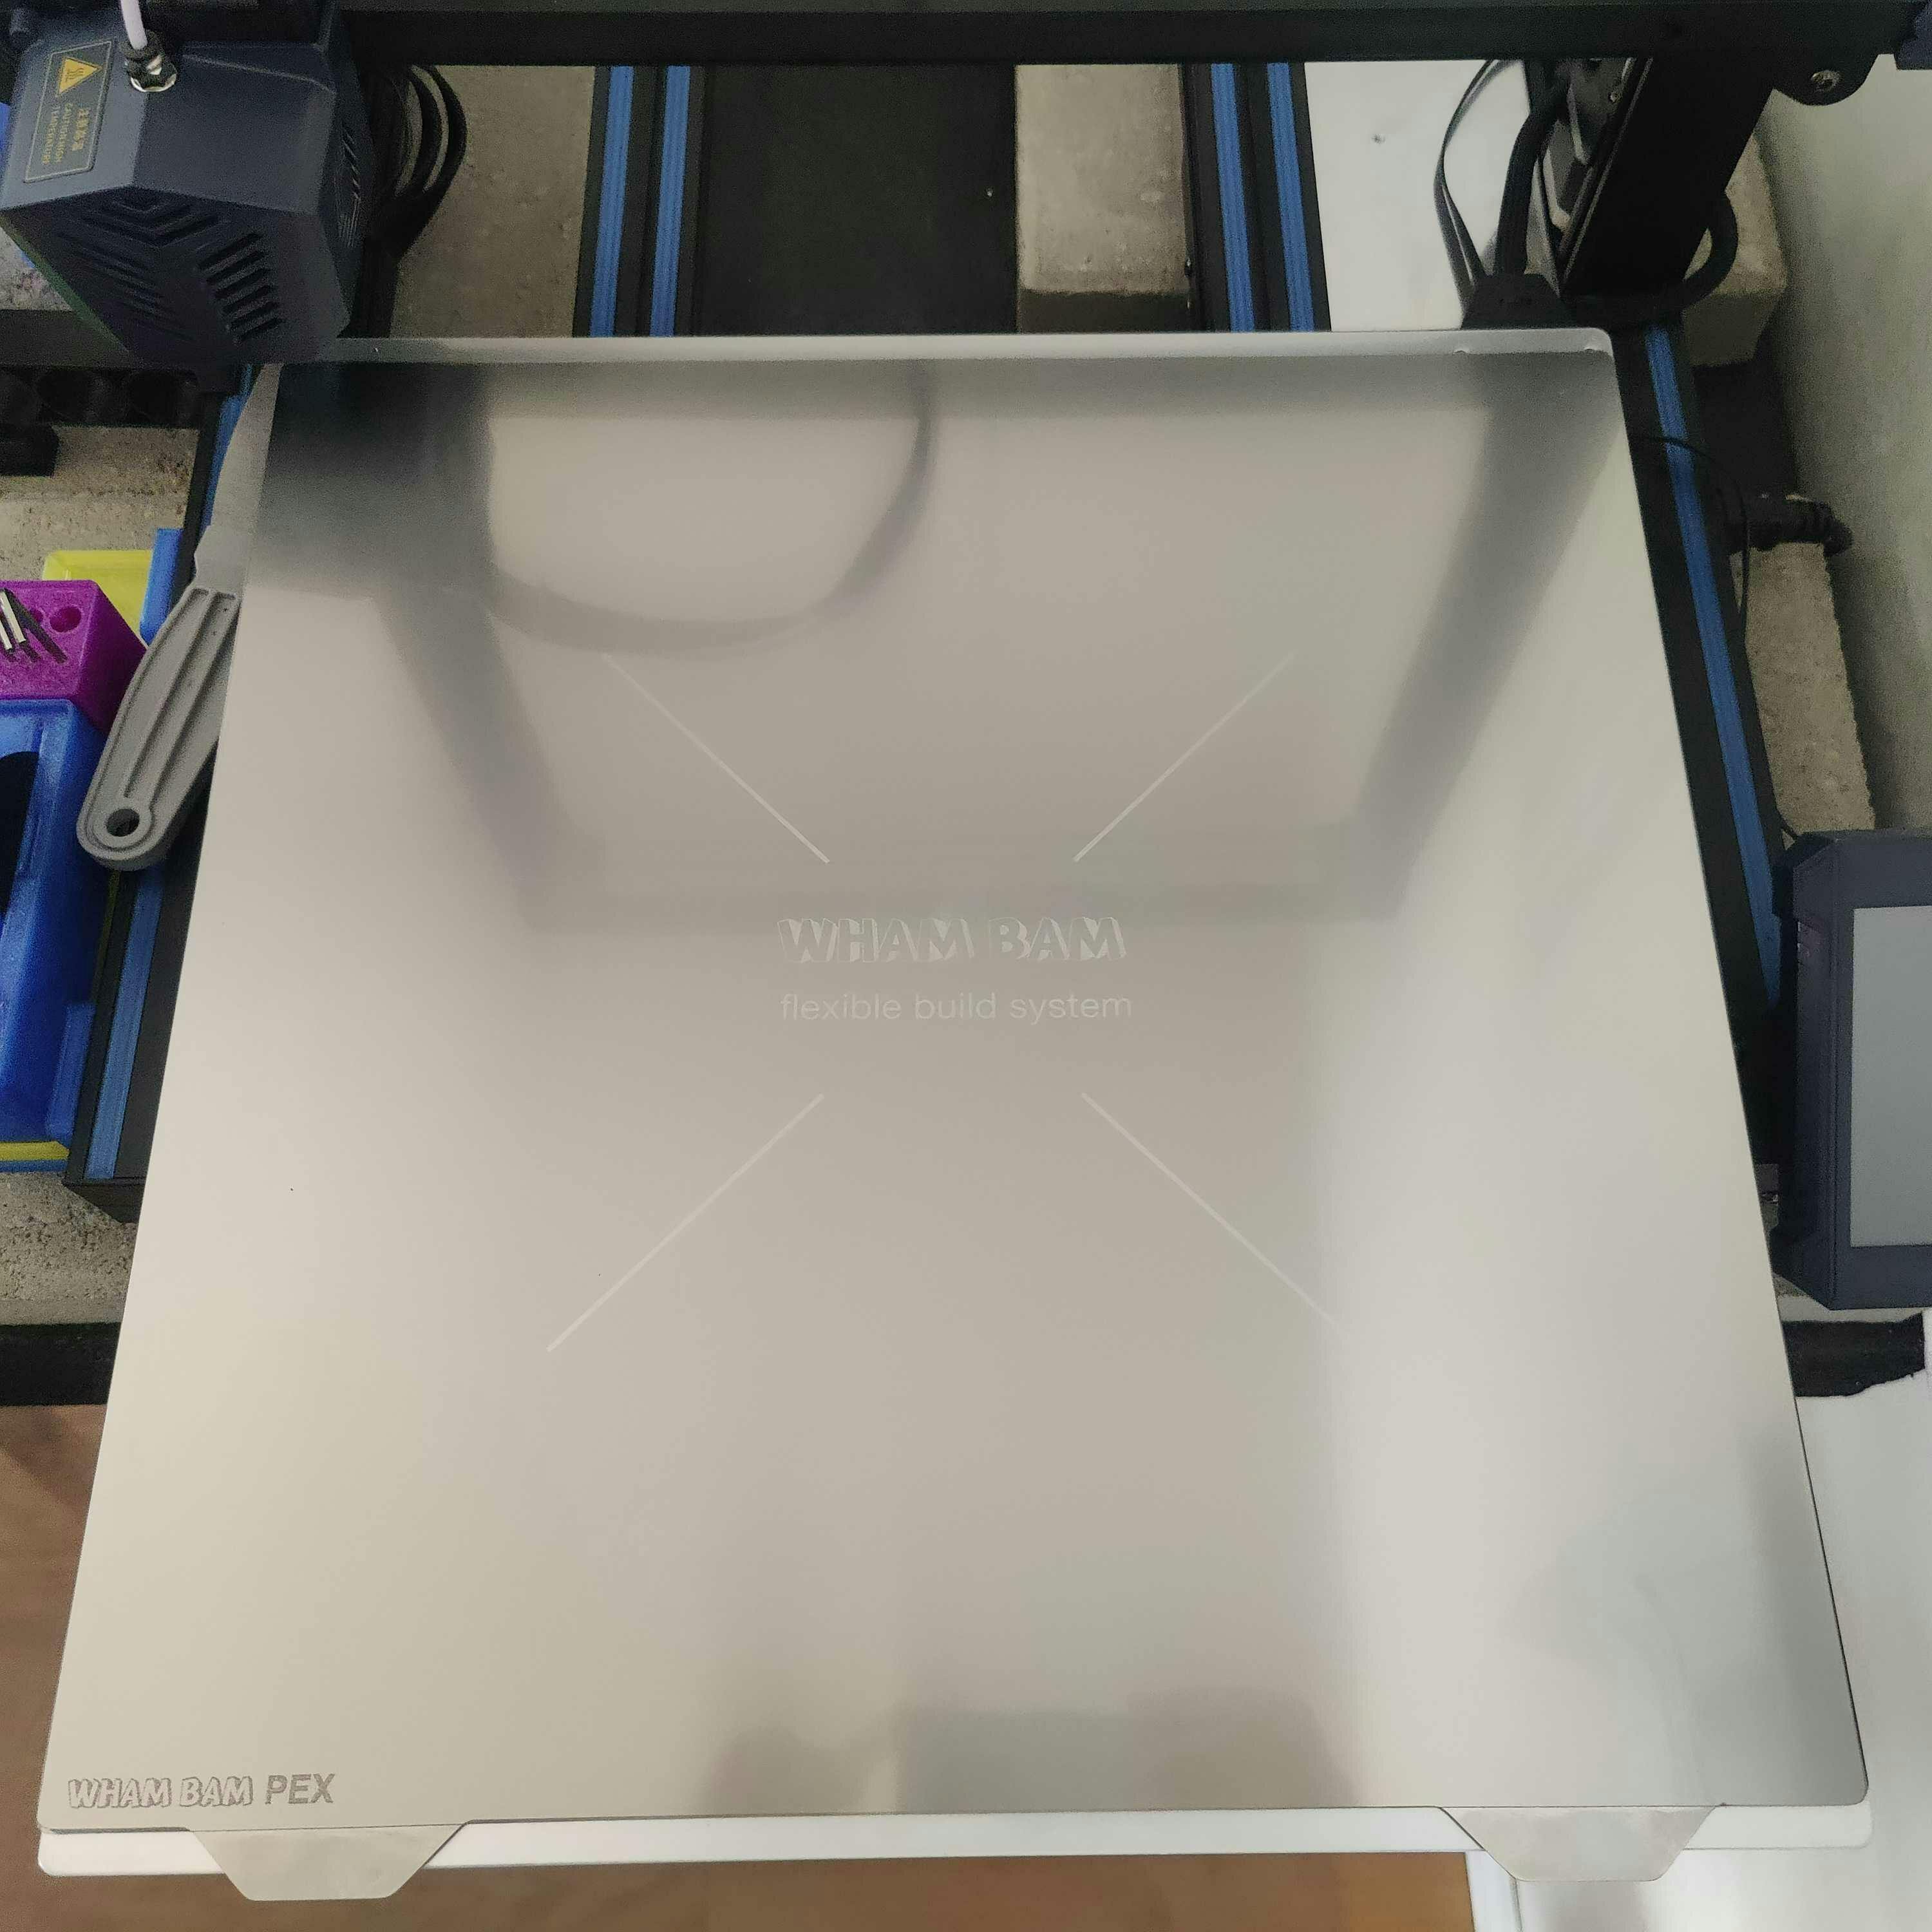
Upgrade your 3D printing setup with Wham Bam’s Flexible Build System, designed to enhance print quality and streamline your workflow. This system is a game-changer for anyone frustrated with stubborn prints that are difficult to remove. At its core is the Wham Bam PEX Build Surface, a specially engineered material that provides exceptional adhesion during printing and effortless release afterward. It’s paired with a flexible, magnetic spring steel Flexi Plate that snaps securely onto the provided Magnetic Base. When your print is done, simply remove the Flexi Plate and flex it slightly to release even the most intricate designs without damaging them.
The system is built to last, featuring rust-proof, spring steel that maintains its flexibility and strength over time, and powerful, temperature resistance magnets that ensure the build plate stays perfectly aligned during printing. It's compatible with a wide range of 3D printers, making it an ideal upgrade for hobbyists, prosumers, and industrial users alike who need a hassle-free solution to enhance their 3D printing experience.
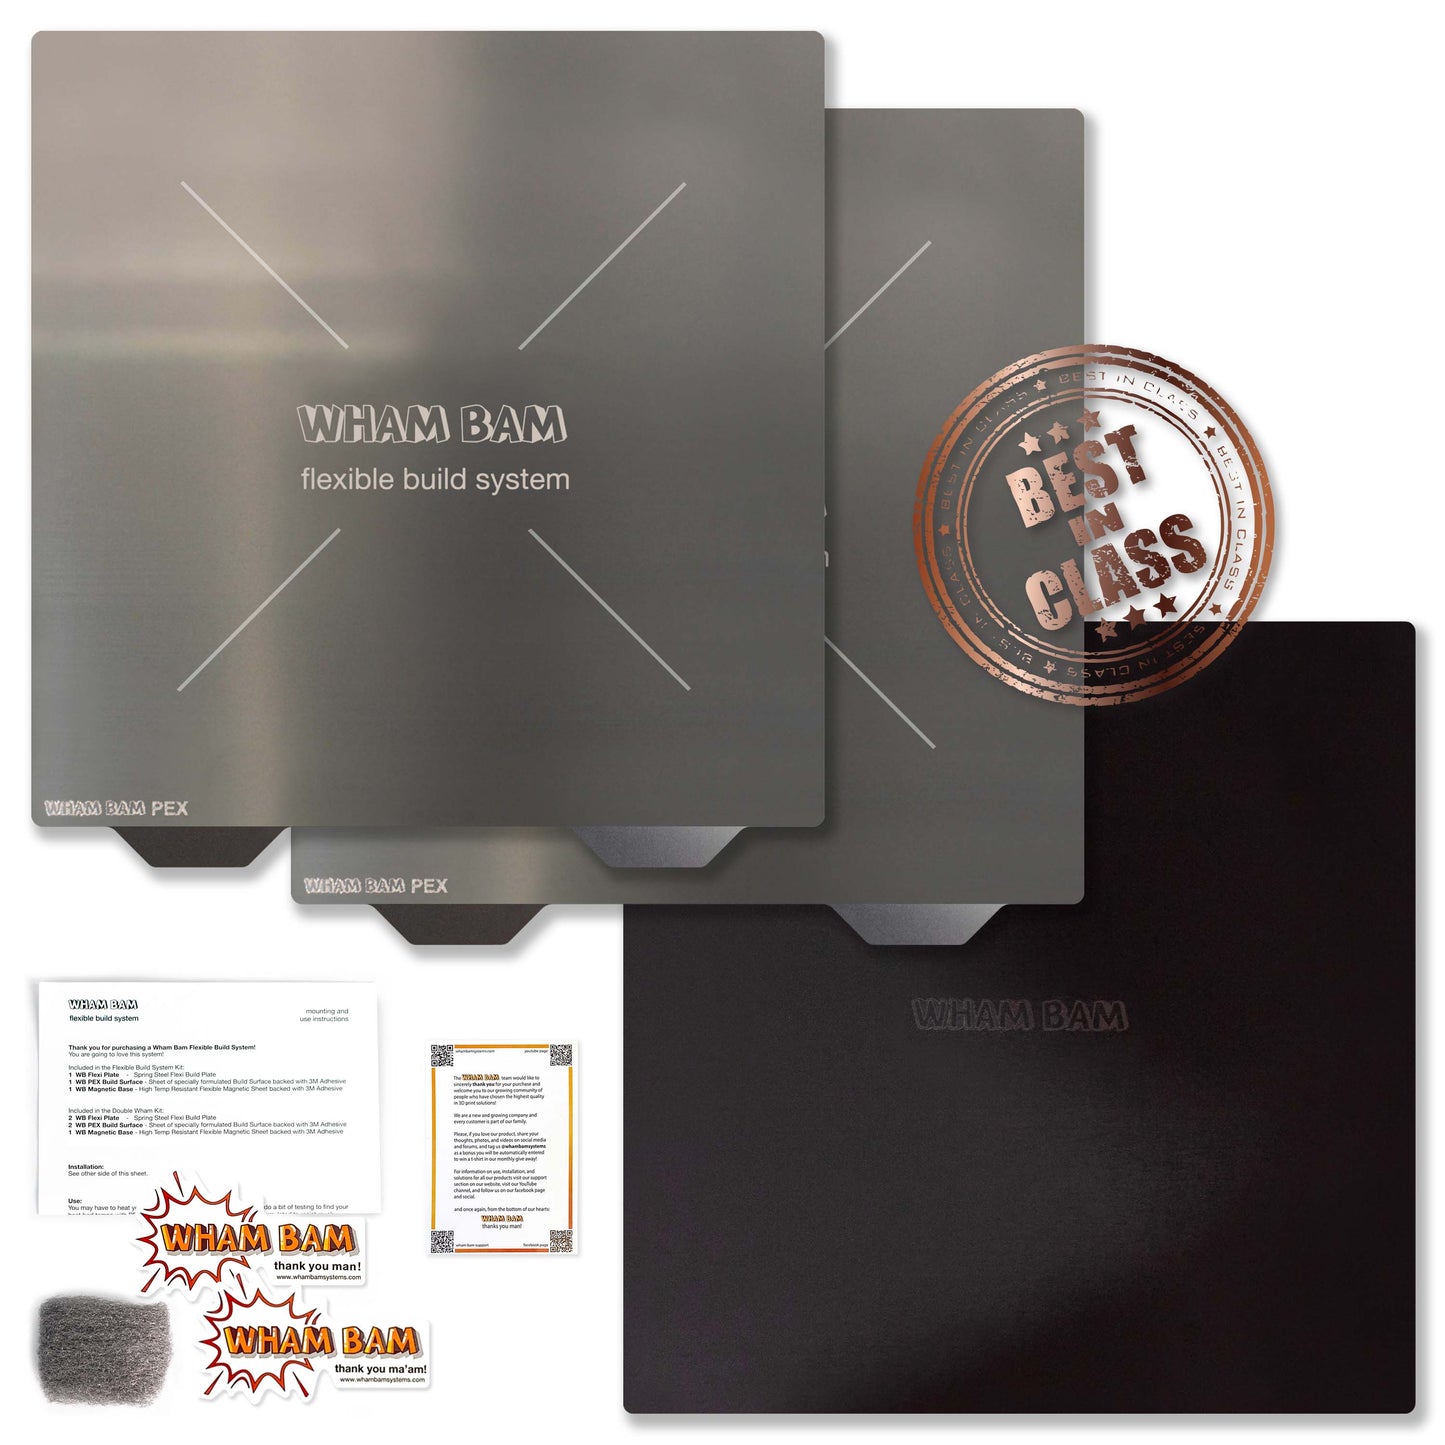
Get everything you need in the Flexible Build System or upgrade to the Double Wham kit, which includes an additional Flexi Plate with PEX. This extra plate enables a continuous printing workflow by allowing you to start a new print on your 2nd plate while your first plate cools down.
Explore more info on the Flexible Build System.
Printer Fits:
• Creality CR-10S4
• FORMBOT Raptor
• gCreate gMax
• German RepRap X400
• T-REX and 2+
• Vivedino Raptor 2
• Vivedino T-Rex 3.0
• VORON Design Core XY
May fit:
• Alfawise U10
• Anycubic Chiron
• Anycubic Kobra Max
• Formbot Troodon 400
• gCreate gMax 1.5 XT+
• HE3D H500
• Mass Portal Grand Pharaoh ED 40
•RAISCUBE T9
• Tronxy 5SA-400
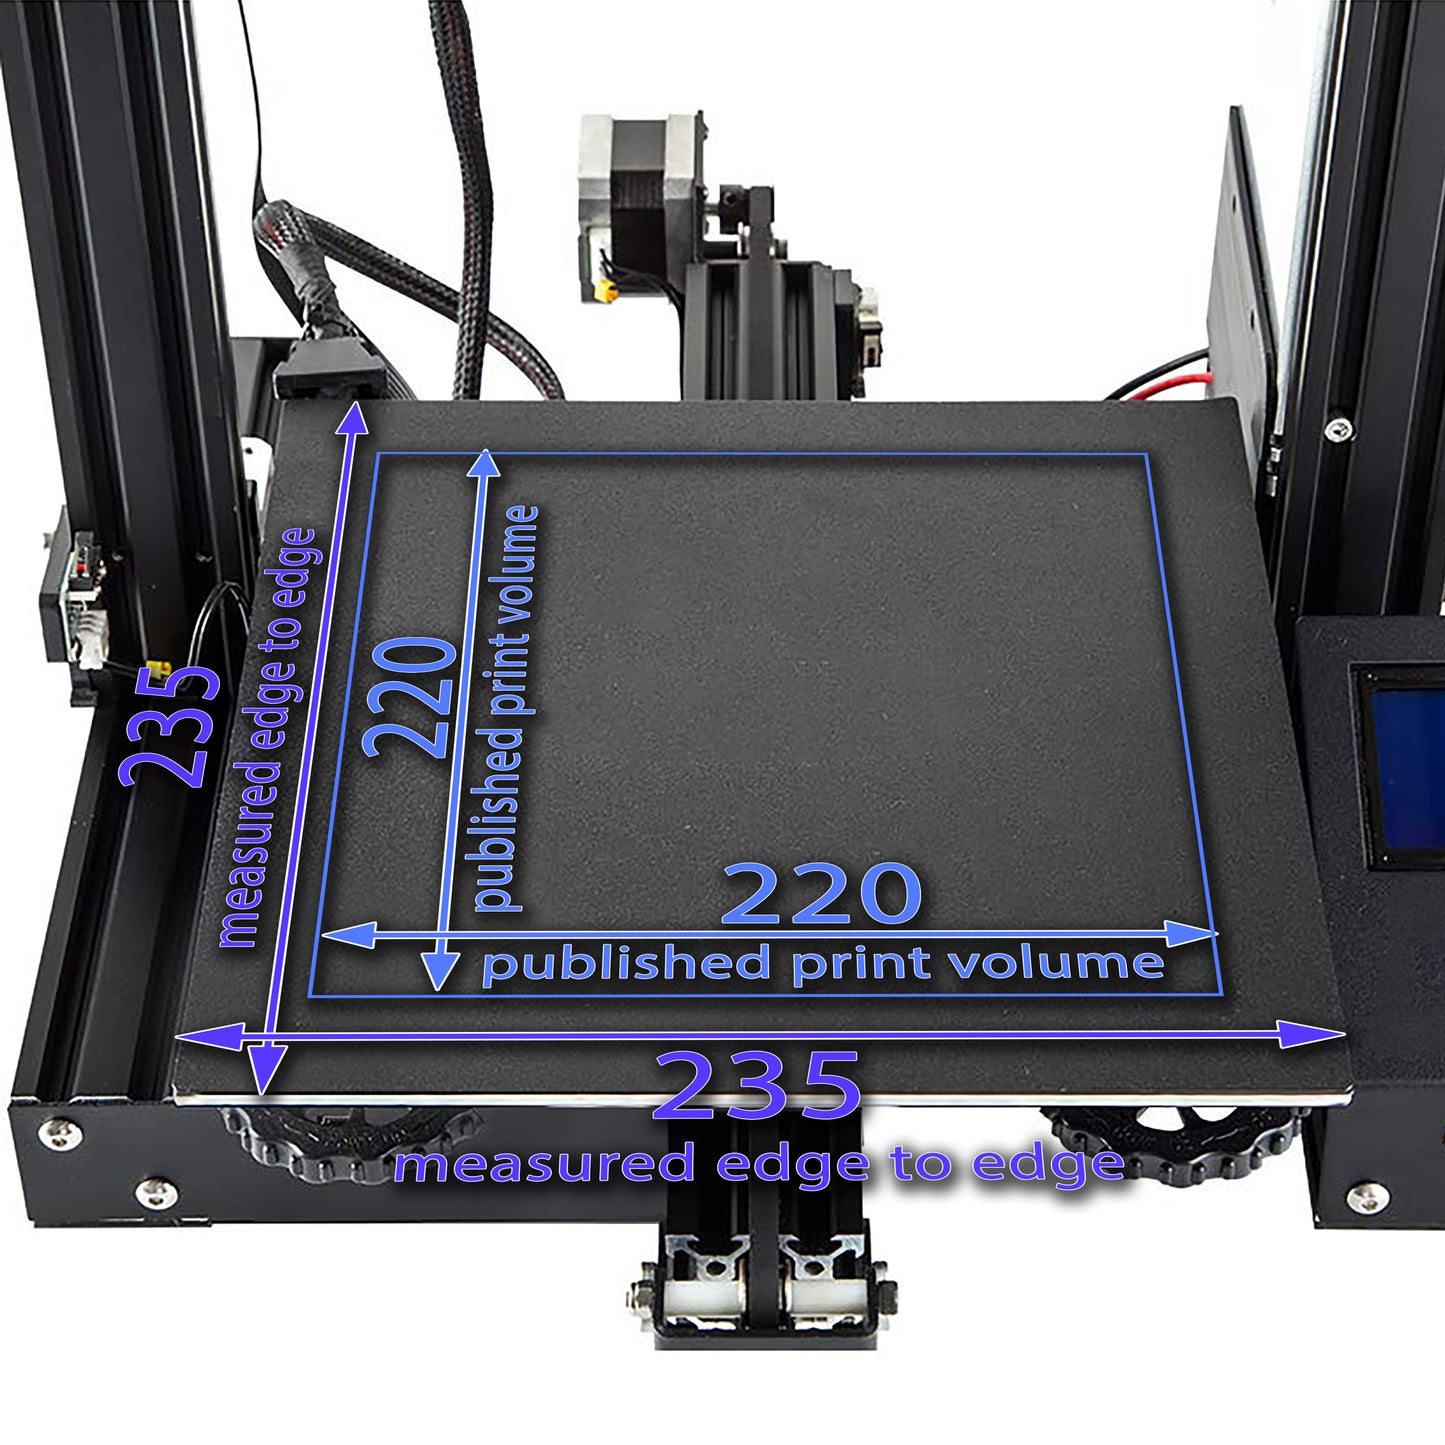
If you have a printer similar to the one described above and believe our solution could work for your printer, please follow our easy instructions on measuring your build plate. Let us know if your printer matches our specifications or is even close! We’d love to hear about it, and you might even receive a discount on Wham Bam® merchandise for your efforts. Click here for more info.

- 1 Magnetic Base
- 1 Flexi Plate with PEX Build Surface
- 1 Magnetic Base
- 2 Flexi Plate with PEX Build Surface
- 410 x 410 mm
- Magnetic Base 1 mm
- Flexi Plate 0.4 mm
- PEX Build Surface 0.35 mm
- Magnetic Base with 3M Glue rated to 150°C continual use
Please follow these steps when applying a new Magnetic Base:
- Remove old magnet (if any), and clean the bed well to remove any glue. Use isopropyl alcohol and a fresh paper towel.
- Use 220 grit sandpaper to rough up the metal surface uniformly and remove any excess contaminants. If your surface is painted, try to break through the paint layer with the sandpaper at least partially.
- Clean with 90% isopropyl alcohol and a fresh paper towel. Repeat with alcohol and a fresh paper towel a few times until the paper towel comes away clean. Do not use shop rags, wipes, etc., as these will propagate contaminants back to the surface. Use only fresh paper towels.
- Let the bed completely dry before applying the magnet.
- Let 3M cure for a full 72 hours before use.
Magnetic Base install video clip:
Make sure to rough up the PEX surface with 000 steel wool or red Composite Abrasive Pad (CAP is version 7447). On the first preparation, you will need to scuff in circles for 4-5 minutes until you have an even satin matte finish without seeing individual scratches with very little reflection. Clean repetitively with isopropyl alcohol >90% and a fresh/clean paper towel. Do not use other rags, microfiber, wipes, or towels, please see here.
If your machine has automatic bed leveling, run the leveling process and set your gap such that the first layer is well squished. For more details on achieving the right first layer squish, refer to this bed leveling guide.
If your printer uses manual leveling, follow the same guide for instructions on the leveling process.
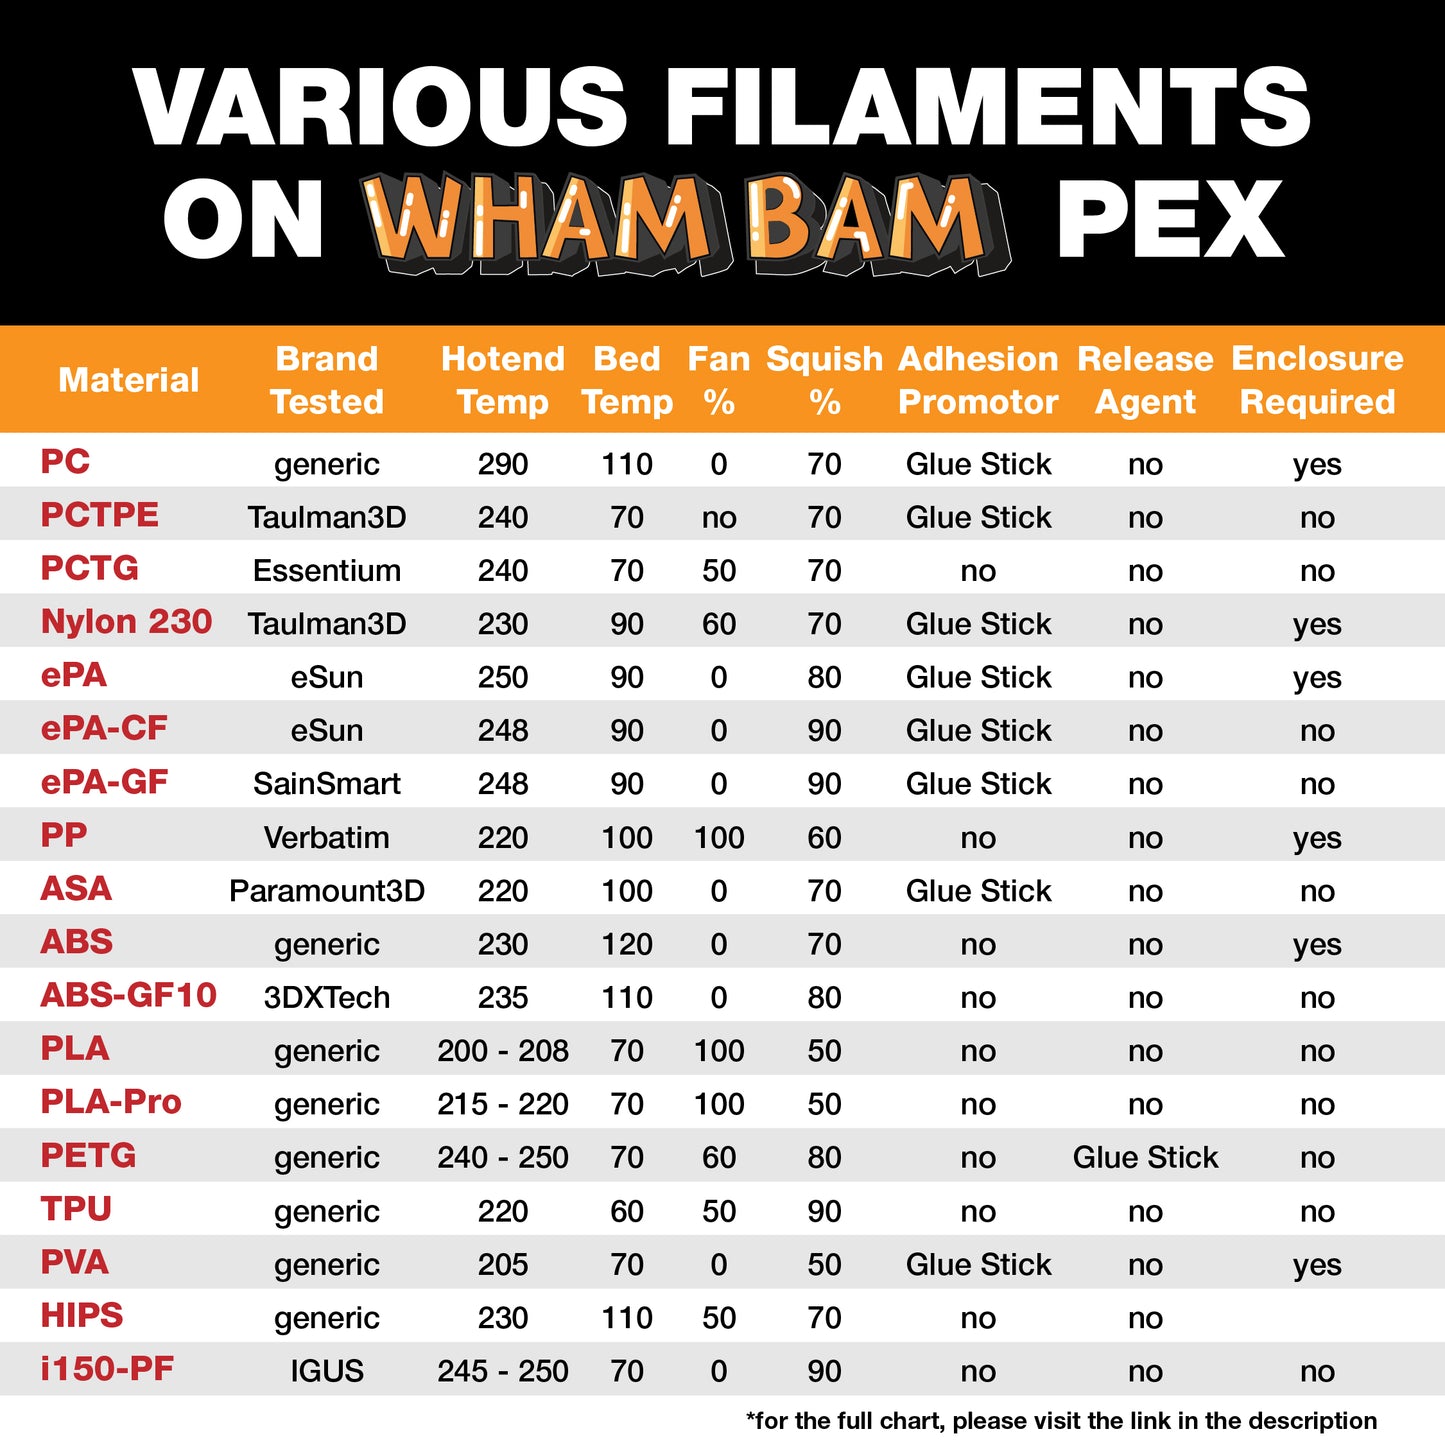
Always read your filament spool label
Your hot end temperatures should be set within the range printed on the side of the spool of filament. The first 3 layers should be toward the lower temperature range to avoid damaging the PEX. For example, if the hot-end range is 200-230° C, start with 215°C or lower and adjust as needed for your first layer. For bed temperatures, stick with the Wham Bam recommended temperatures as shown in the chart below.
When trying a new filament
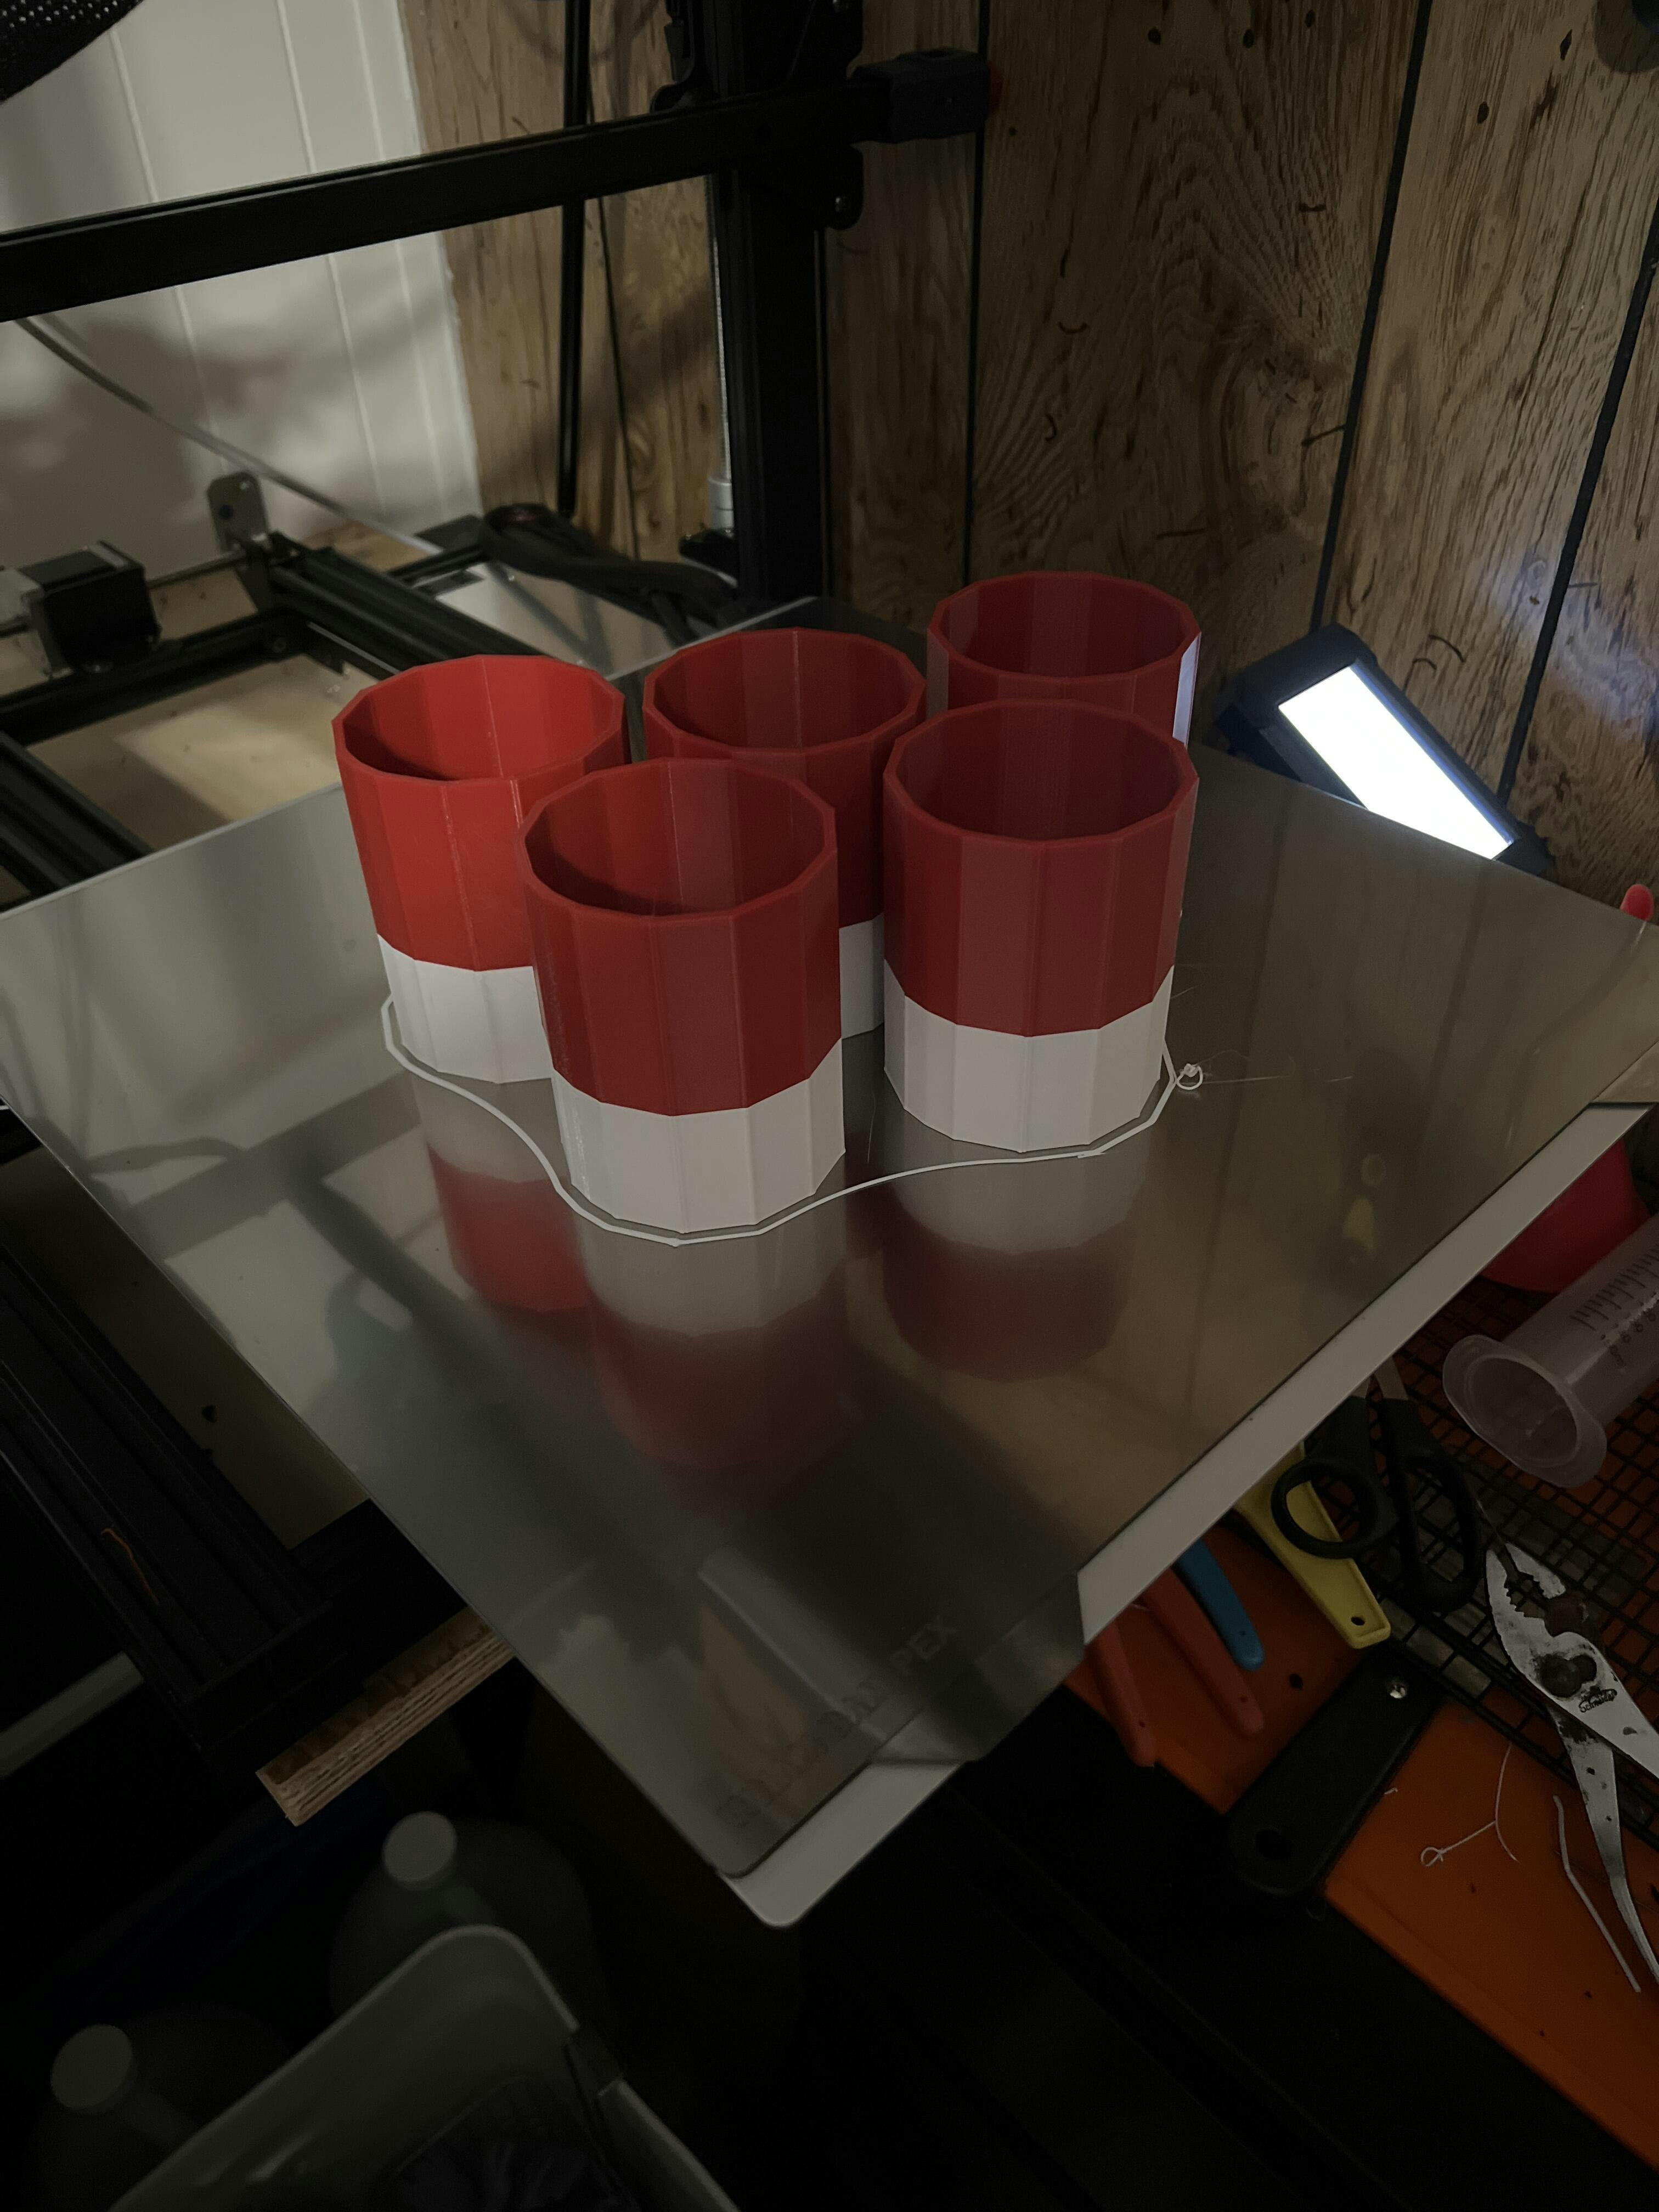
We always suggest that when changing filament types and brands or adjusting settings, always print a small test cube (or our
Mini Whammy ) in the far corner of your build surface. If you do not get good adhesion, you may need to adjust your settings or use glue stick to promote adhesion. If it sticks for the full print and comes off easily once cooled, you are probably good to go when printing larger parts. If it bonds too well, adjust your settings, or use glue stick. When in doubt, use glue stick as a barrier layer. PETG and some other filaments, such as ASA, stick too well and typically need a barrier layer.
Printing PETG?
Learn more about problem-free PETG printing on our PEX
Full support info can be found on our support page.
Always read your filament spool label
Your hot end temperatures should be set within the range printed on the side of the spool of filament. The first 3 layers should be toward the lower temperature range to avoid damaging the PEX. For example, if the hot-end range is 200-230° C, start with 215°C or lower and adjust as needed for your first layer. For bed temperatures, stick with the Wham Bam recommended temperatures as shown in the chart below.
When trying a new filament
We always suggest that when changing filament types and brands or adjusting settings, always print a small test cube (or our
Mini Whammy ) in the far corner of your build surface. If you do not get good adhesion, you may need to adjust your settings or use glue stick to promote adhesion. If it sticks for the full print and comes off easily once cooled, you are probably good to go when printing larger parts. If it bonds too well, adjust your settings, or use glue stick. When in doubt, use glue stick as a barrier layer. PETG and some other filaments, such as ASA, stick too well and typically need a barrier layer.
Printing PETG?
Learn more about problem-free PETG printing on our PEX
After every print:
Always wait until the printed part and build plate are completely cool before flexing off and never flex when either is still warm. Never force off a print; always flex carefully once cool to remove the part.
After removing the parts always prepare the PEX for the next print by using either 000 steel wool, CAP pads, or a red Scotchbrite 7447 pad. Scuff for about 10 seconds, then clean with 70% or higher IPA and fresh paper. This will help to remove any traces of filament and prevent contaminant build up. Do not use rags, microfiber, wipes, or towels, please see here.


Customer Reviews
I absolutely needed this, and I love that it fits my large build plate!!
Works phenomenally. Wish I hadn't jumped the gun on installing it before thinking about removing the old build plate and installing it directly on the heater bed. Didn't know/think that was an option until afterwards.
If you have a large format FDM printer and do large prints this is a must makes getting prints off the print bed just a simple flex and they come off no prying no fighting.
I was a little hesitant to buy this for my Anycubic Kobra Max, only because the closest size was 410mm x 410mm, but the stock bed measures 410mm wide by 430mm front to back. Considering that extra space front to back wasn't actually utilized on the stock bed, I figured I could make it work. That, and I was tired of breaking prints trying to remove them from the carborundum glass bed, even when using MagiGoo for a release agent. So I ordered it, and it arrived well packaged and it installed easily following the instructions. I centered it front to back, leaving slight spaces on the heating plate of my bed front and back, but it lines up perfectly side to side. I then performed the printer's auto-leveling function, and that adjusted automatically to the new bed thickness. Now my prints stick while printing and release easy when done, no glue required. I did follow a recommendation to increase bed temps by 10 degrees Celsius, and that helped prints stick correctly.
In my opinion, this is the kind of print surface that should have come included with this printer, but maybe Wham Bam did it better anyway. This has greatly improved my printing experience and I highly recommend it!
WOW!