Kit - Anycubic Photon and Photon Mono SE - 135 x 80
Couldn't load pickup availability
Product Details
Fits: Anycubic Photon and Photon Mono SE
(Please see full printer list below on the 'Fits & Contents' tab)
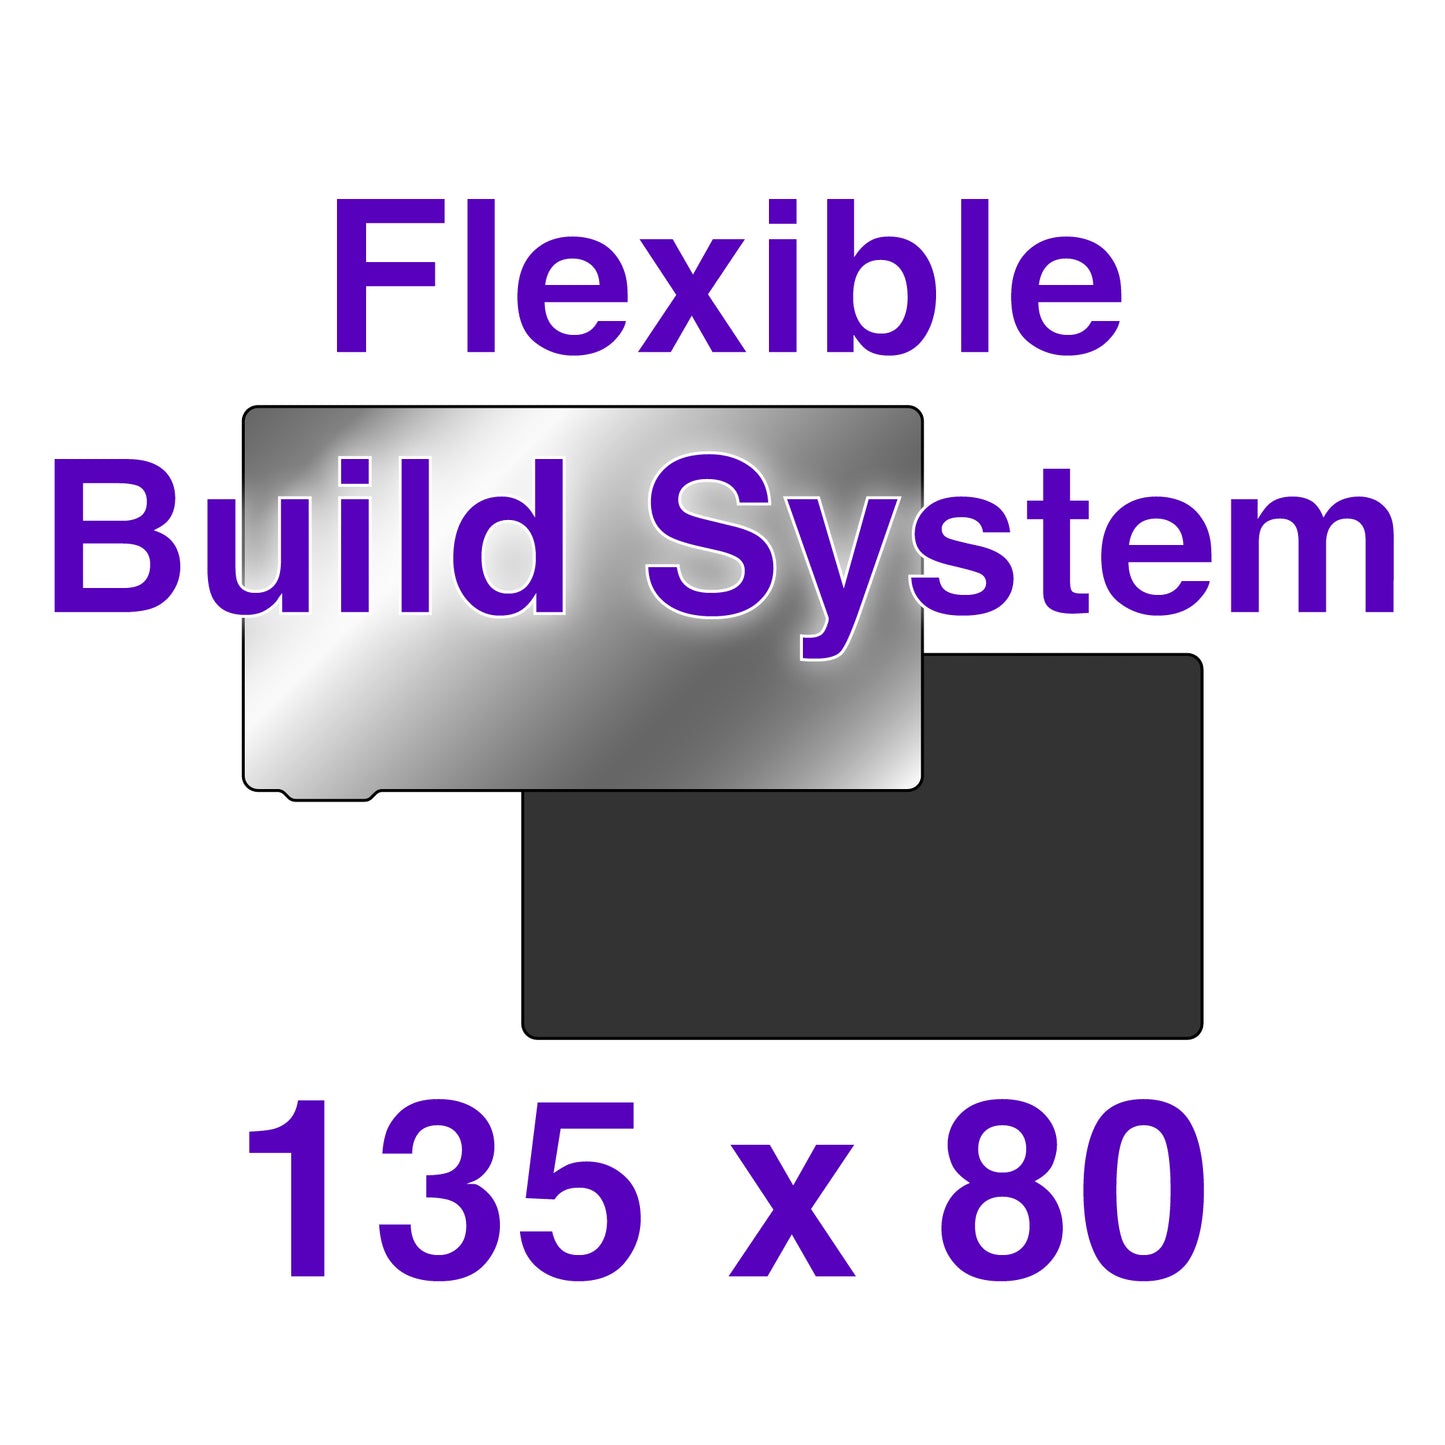
Revolutionize your resin 3D printing experience with the Wham Bam Systems' Flexible Build System for Resin (or FBSR). This innovative system is engineered to simplify removing your printed models, enhancing your overall printing experience!
Our kits feature a high-quality spring steel Flexi Plate, made with a rustproof chromium alloy, ensuring both durability and flexibility. The Flexi Plate is custom-etched on both sides to provide an exceptional grip for your first layer.
The accompanying Magnetic Base is a custom-designed composite magnet with alternating polarity, delivering robust adhesion that withstands the demanding suction forces of large prints. It is backed with a specialty 3M adhesive designed to resist harsh solvents and chemicals, for a permanent bond.
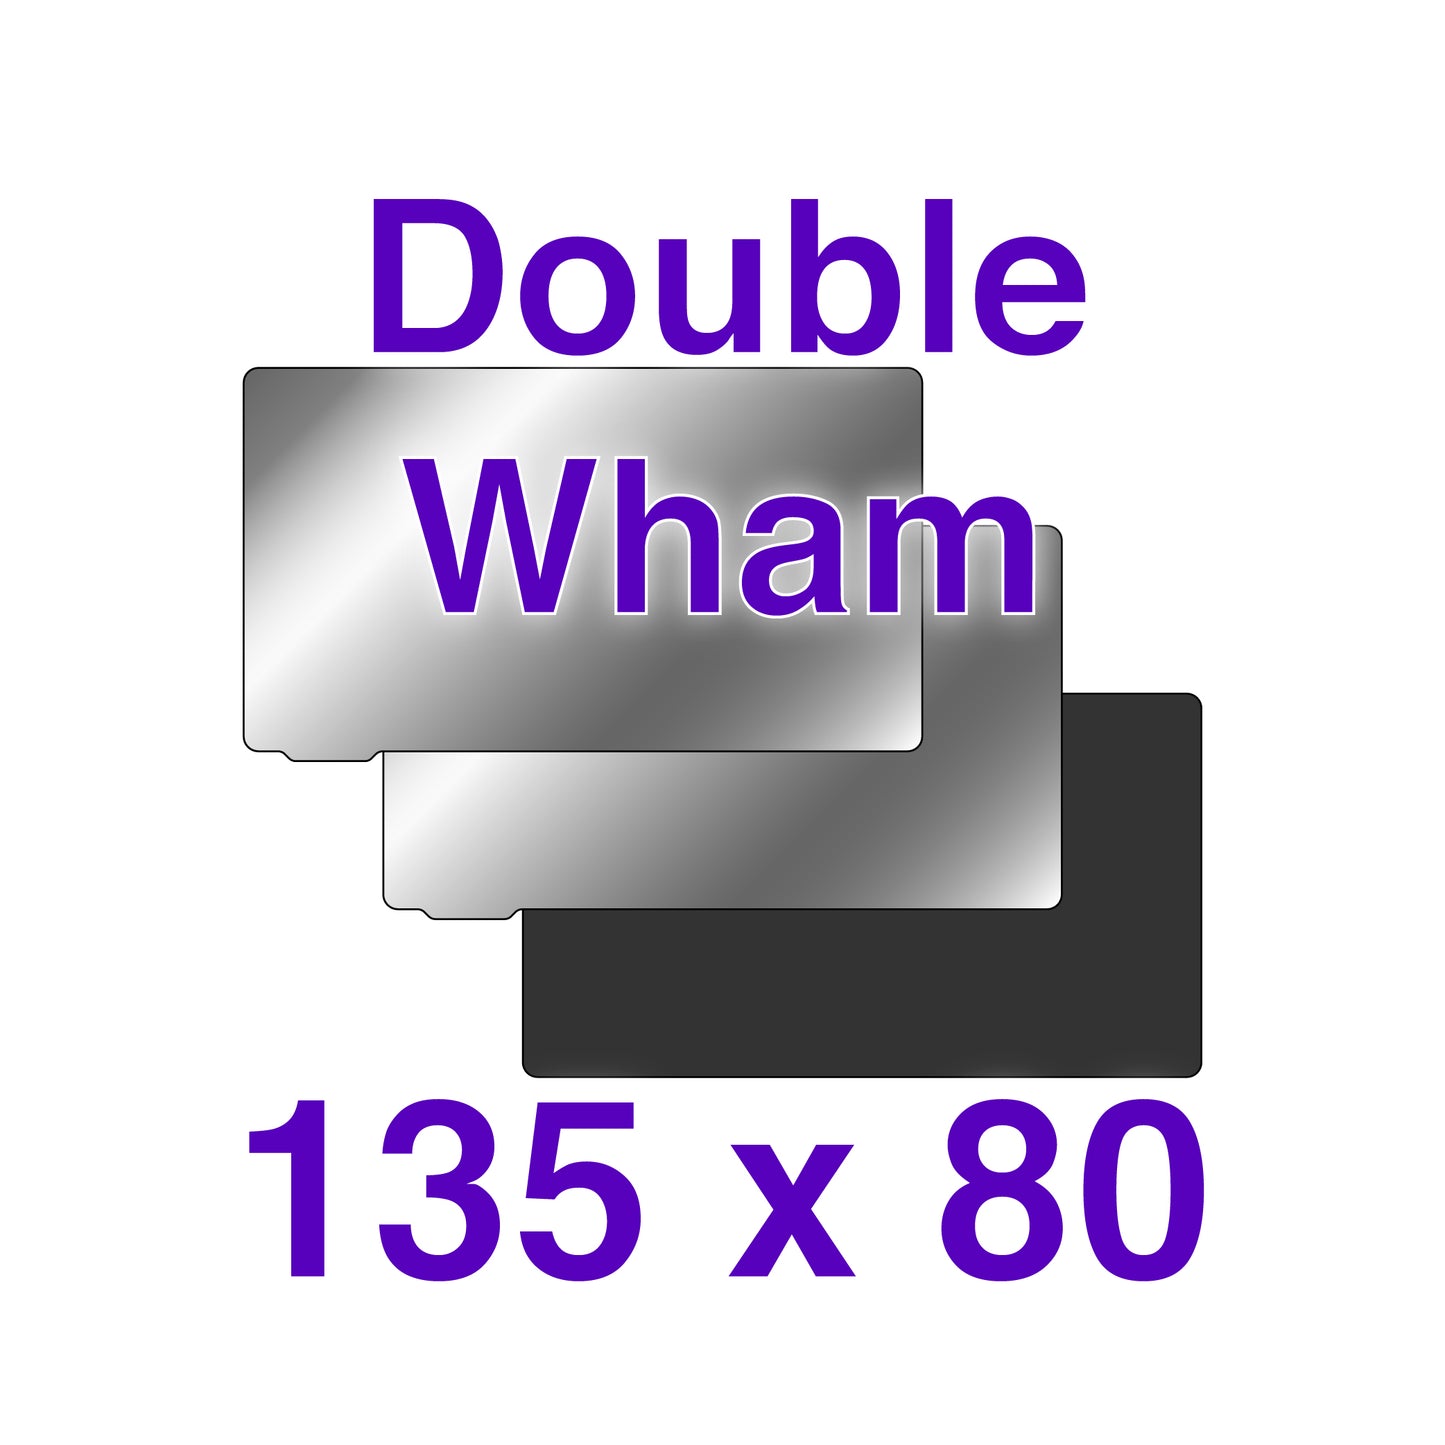
Get everything you need in the Flexible Build System or upgrade to the Double Wham kit, which includes an additional Flexi Plate. This extra plate enables a continuous printing workflow by allowing you to start a new print on your 2nd plate while starting the cleaning process on your recently finished print, significantly increasing your productivity.
Ideal for both beginners and seasoned professionals, the Flexible Build System for Resin is a game-changer, offering a seamless, efficient, and reliable solution to your resin 3D printing needs.
Explore more info on the Flexible Build System for Resin.
• Anycubic Photon
• Anycubic Photon Mono SE
• Anycubic Photon S
• Qidi 3D Shadow 5.5S
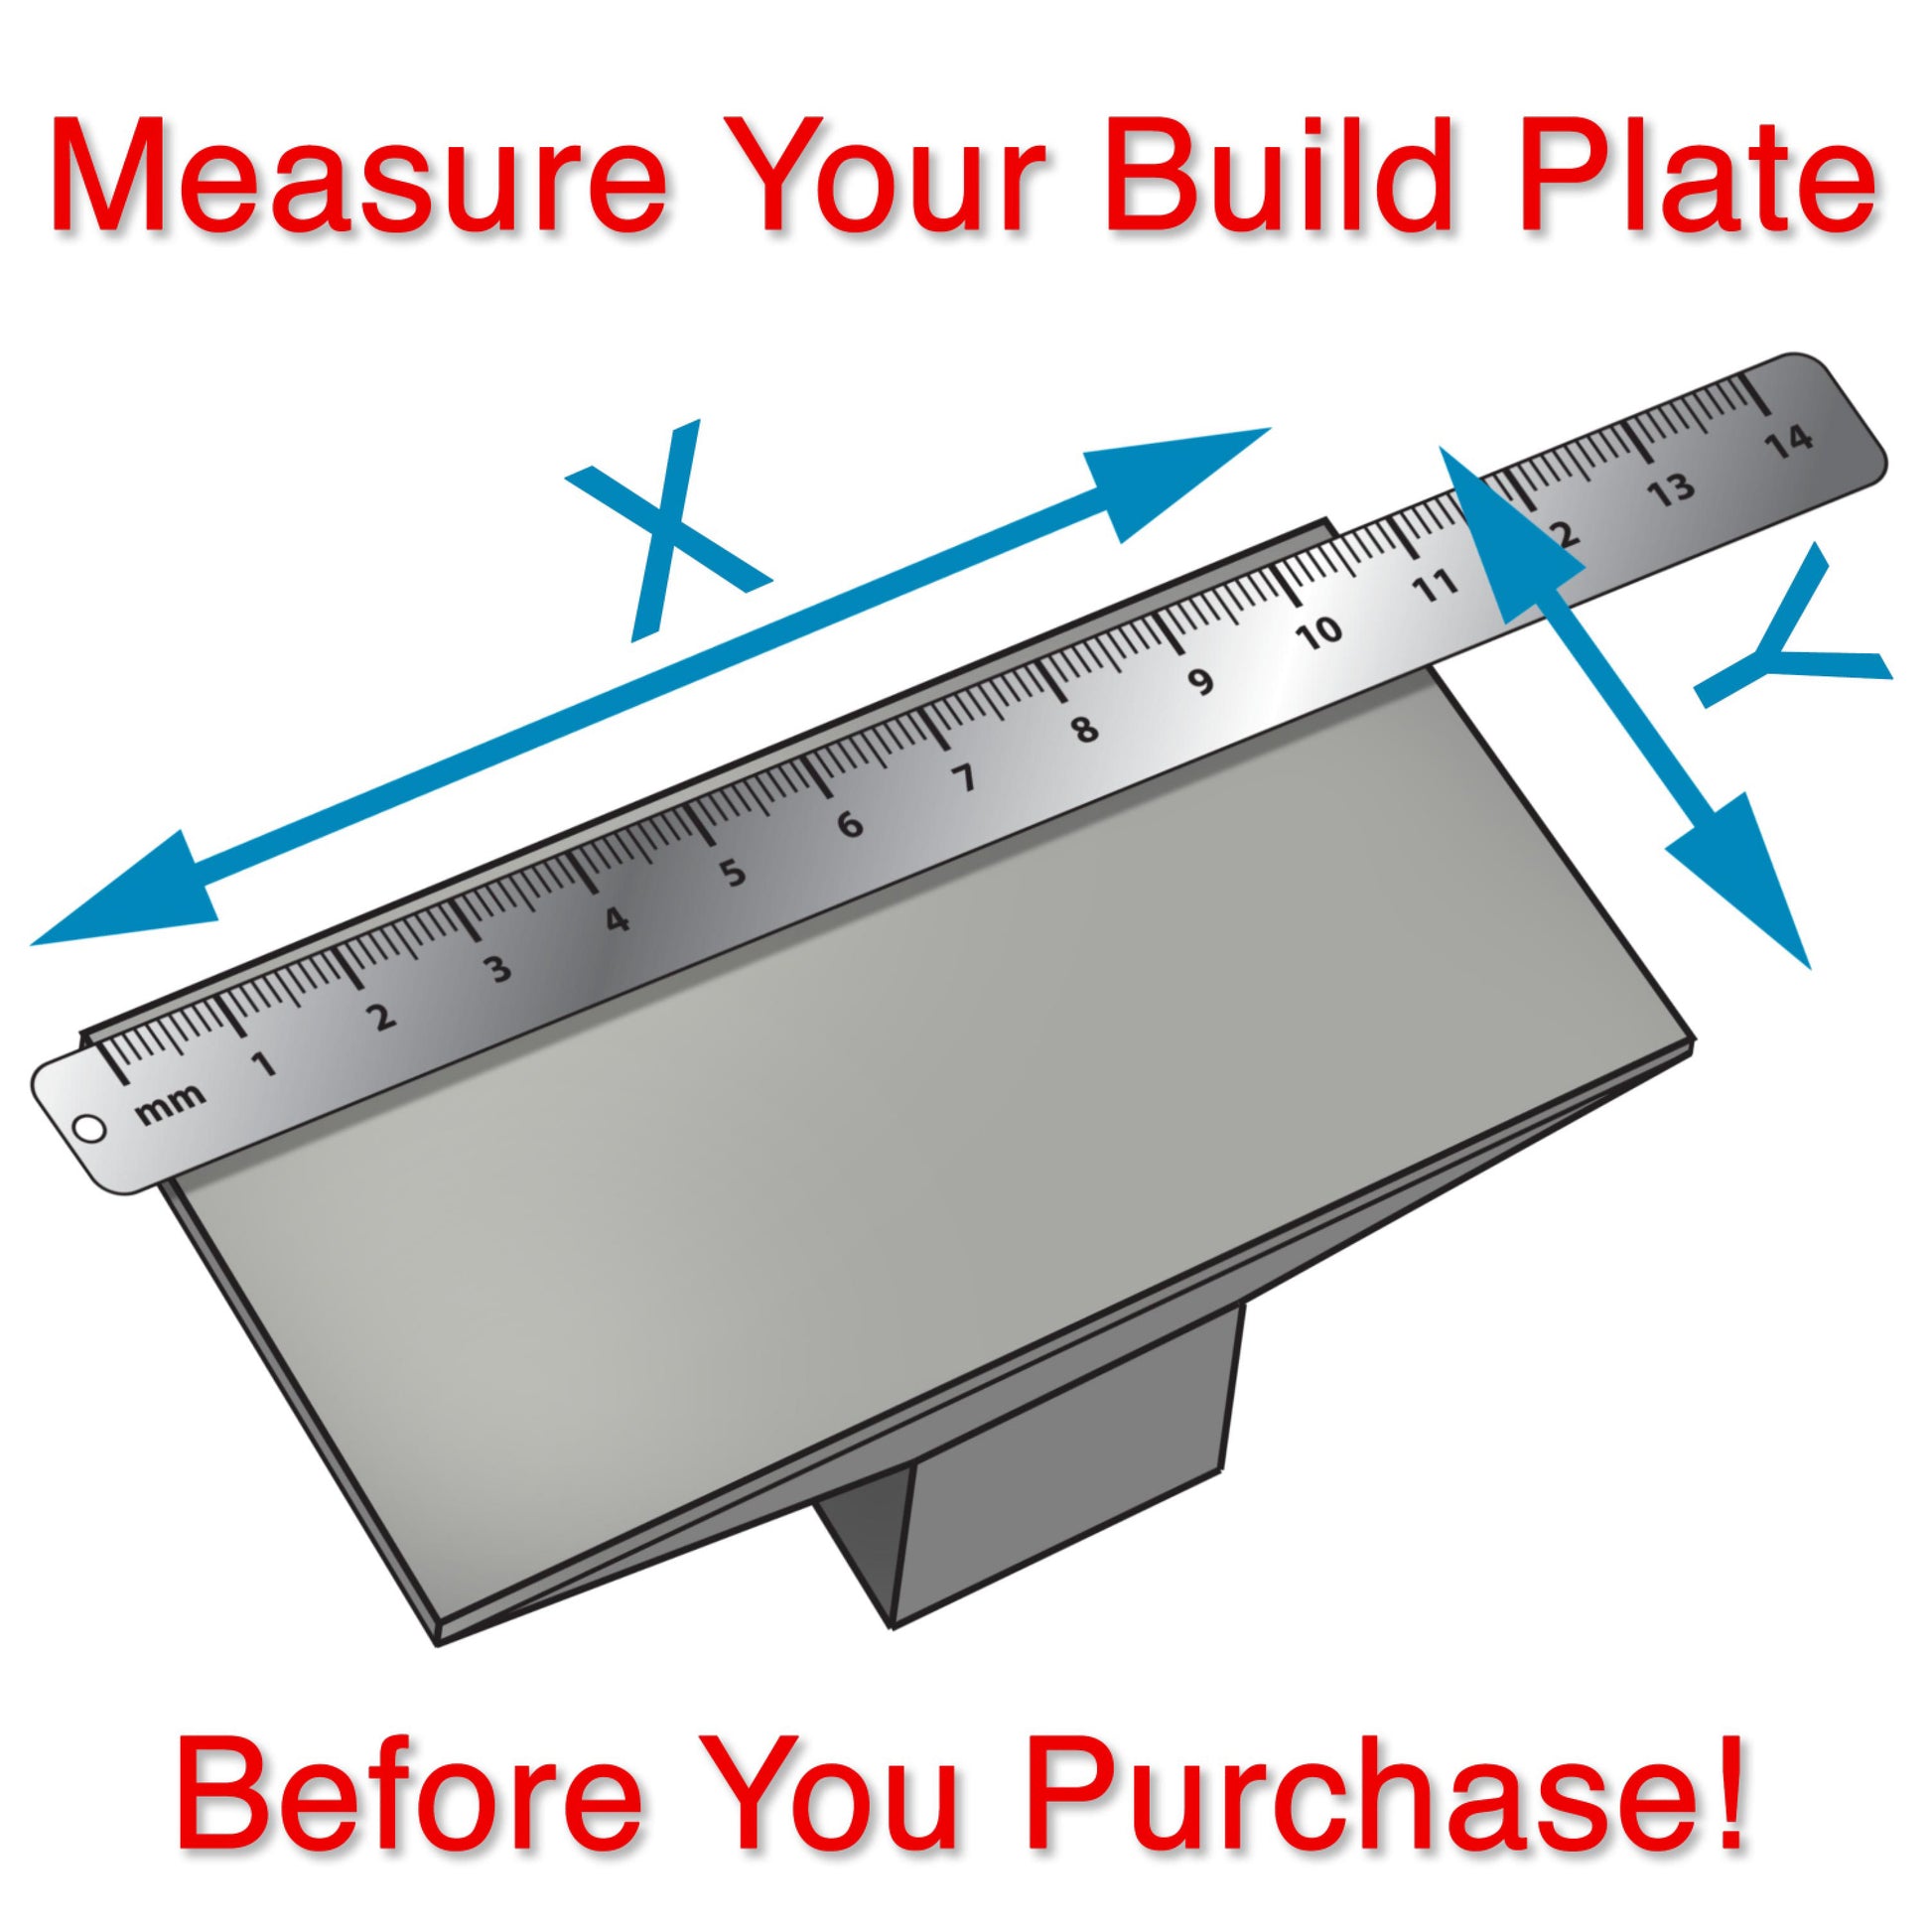
Do you have a printer similar to what's listed under Printer Fits or May Fit?
If you have a printer similar to the one described above and believe our solution could work for your printer, please follow our easy instructions on measuring your build plate. Let us know if your printer matches our specifications or is even close! We’d love to hear about it, and you might even receive a discount on Wham Bam® merchandise for your efforts. Click here for more info.

Flexible Build System Includes:
- 1 Magnetic Base - 2mm
- 1 Flexi Plate - 0.4mm spring steel
- 1 Magnetic Base - 2mm
- 2 Flexi Plate - 0.4mm spring steel
Size: 135 x 80 mm
Do I need a Z Spacer?
It is possible to use our system without installing spacers, but to confirm you need to see if when in current level condition you have at least 3mms more upward movement on the head (if installing our FBSR) and 4mms (if installing an XTR).
Note: It is always safer to use a spacer if we have one listed.
Download your Z Spacer below:Full spacer and support info can be found on our support page.
View PDF Installation instructions.
When installing the new Magnetic Base and leveling please follow along with this video:
This install video is full of important tips and insights, here is an index if you would like to jump around to different sections:
Introduction - 0:00Modifying Z Limit Height - 0:21
Preparing Your Build Plate to Install Magnet - 03:53
Installing Magnet - 11:58
Leveling your Build Plate - 15:46
Printing Solutions - 24:29
Magnetic Forces and Part Orientation - 29:44
Cleaning Your Build Plate Between Prints - 32:27
We always recommend sanding the build plate (Textured & non-textured) to open the pores, even for brand-new build heads, to help remove cutting oils and contaminants and prepare the metal for the 3M bond.
We worked with 3M to have the best glue that would resist the harsh chemicals found in 3D Print Resins and Isopropyl Alcohol, but it does not do well on any metal with contaminants.
On top of it all, many printers are famous for not having a flat bottom, which will cause issues later.
Follow this video or see the instructions below for the installation of the Magnetic Base:
- Be sure to remove the old Magnetic Base and adhesive
- Check that your build plate is flat by laying a steel ruler on the edge across it in all directions and see if there is any light passing between it.
- Let the whole head sit for at least 30 minutes in an alcohol bath to remove residue from the entire build head and hard-to-reach places.
- Clean every surface of the build head well with pure isopropyl alcohol and a paper towel to remove all residue and dry well.
- Use 220-grit sandpaper on the bottom of your build plate to rough up the surface and open the pores and ensure there is no residue left
- Re-clean with alcohol and a fresh paper towel, repeat the process with a new paper towel until the towel comes away clean
- Let dry completely
- Then mount the Magnetic Base and leave it to cure for 72 hours.
Bed Leveling for Resin Printers with a Flexible Build System Step-by-Step Guide.
Please see this video for a visual explanation of the leveling process.
Sanding The Flexi Plate for more grip:
You can scuff one side of the Flexi Plate with 400 grit wet dry sandpaper (and clean well with IPA and the fresh paper towel a few times until the paper towel comes away clean) to get more grip.
Need Even More Grip? Try this tip:
If even more grip is needed use 320 or even 220 grit. Keep one side with our original etched surface and the other sanded, you can flip over as needed.
Resin Printing Best Practices with the Wham Bam Flexible Build System
You can wash parts on the Flexi Plate
You can wash parts on the Flexi Plate or remove them from the Flexi Plate and wash parts separately.
Never cure on your Flexi Plate
Never cure parts on the plate to avoid depositing cured resin on the Flexi Plate.
Never leave resin between Flexi Plate and Magnetic Base
Do not leave your Flexi Plate on the Magnetic Base with resin between the two for longer than 2 hours.
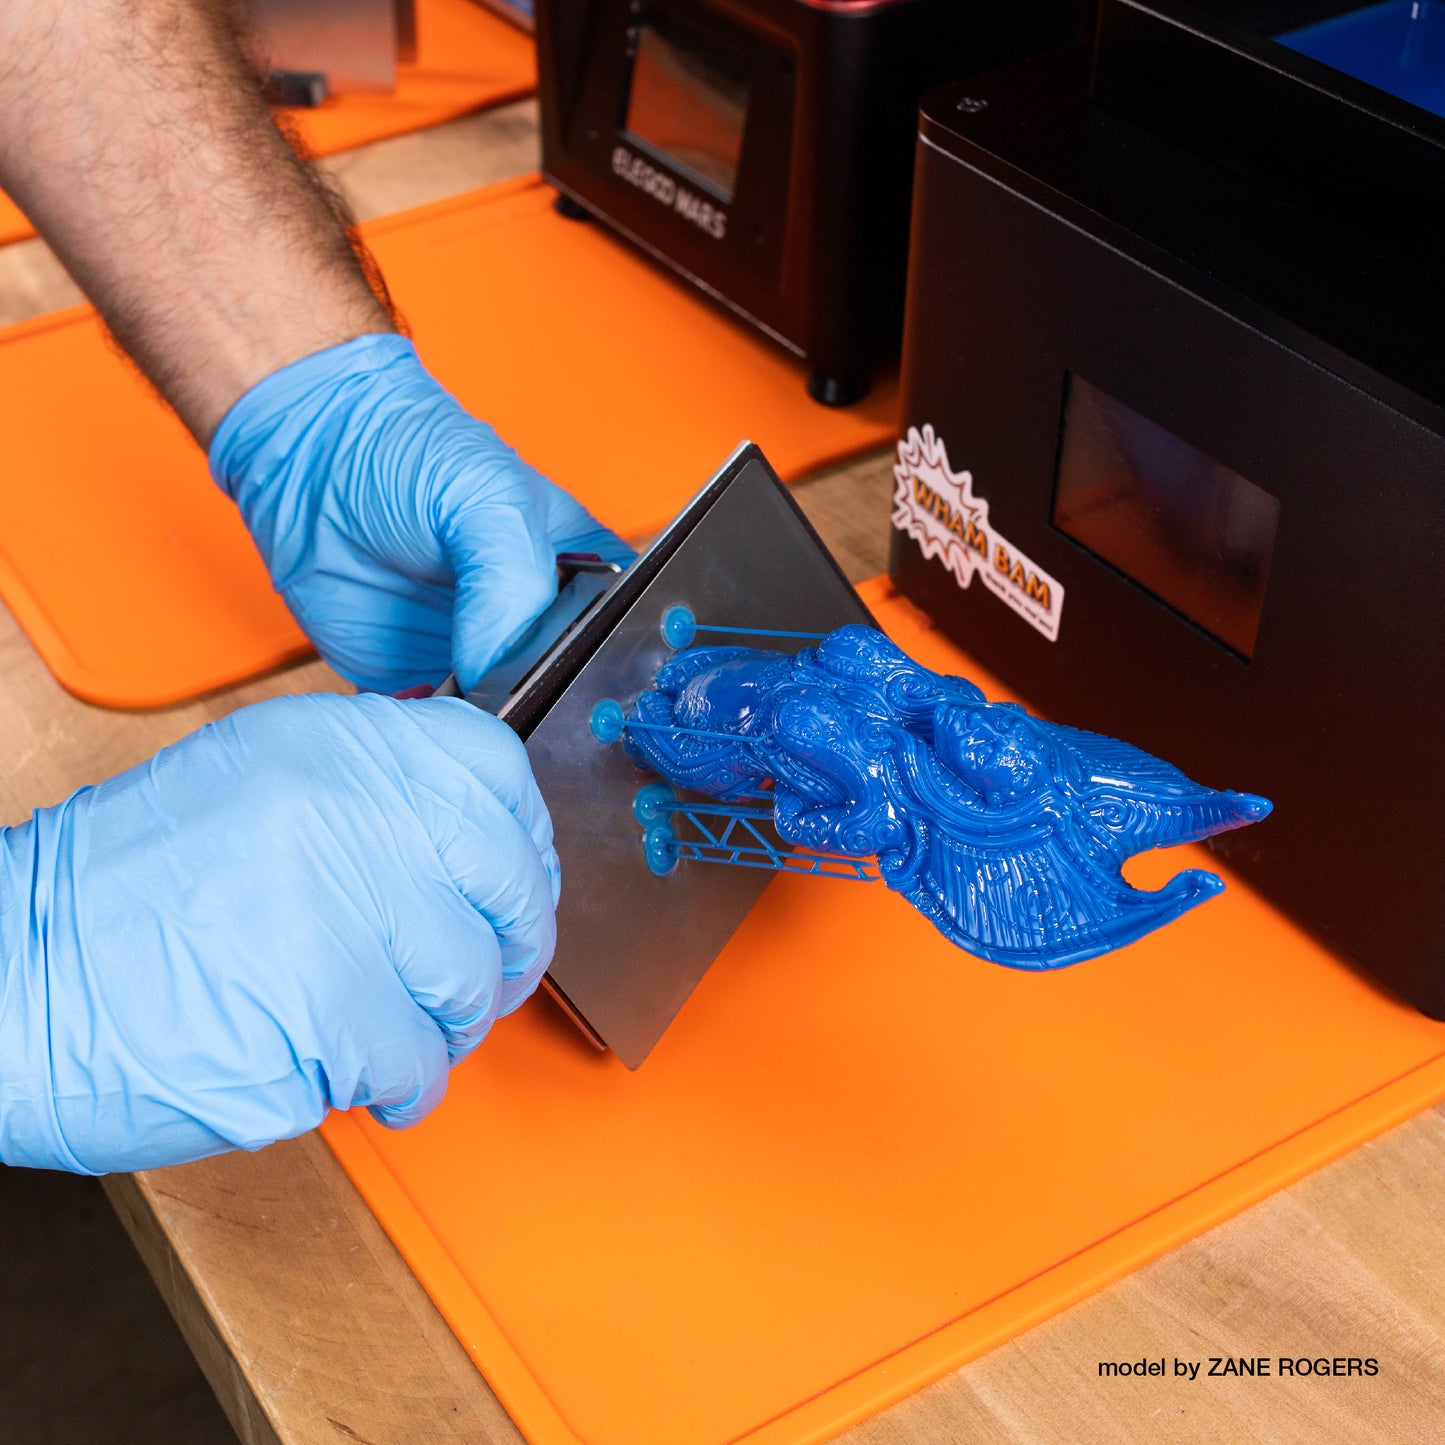
Stuck Parts
Large rigid parts will pop off when you flex the Flexi Plate, but smaller supports may stick. For stubborn areas, carefully scrape with a spatula, chisel, or razor blade. If necessary, retouch the surface with 400-grit sandpaper.
Always clean your Flexi Plate & Magnetic Base between Prints
Always clean your Flexi Plate well with isopropyl alcohol and let it dry completely before placing it on the Magnetic Base.
Always Clean your Magnetic Base with isopropyl alcohol and let dry completely before replacing the Flexi Plate.